IBM Watson Assistant
With IBM’s Watson Assistant, you can integrate an AI-powered conversational interface into flows you build in SmartFlows.
1. Create Watson Assistant Chatbot
IBM has created tools to help get you started:
2. Locate Your Credentials and Chatbot URL
You will need these to be able to configure your bot in SmartFlows.
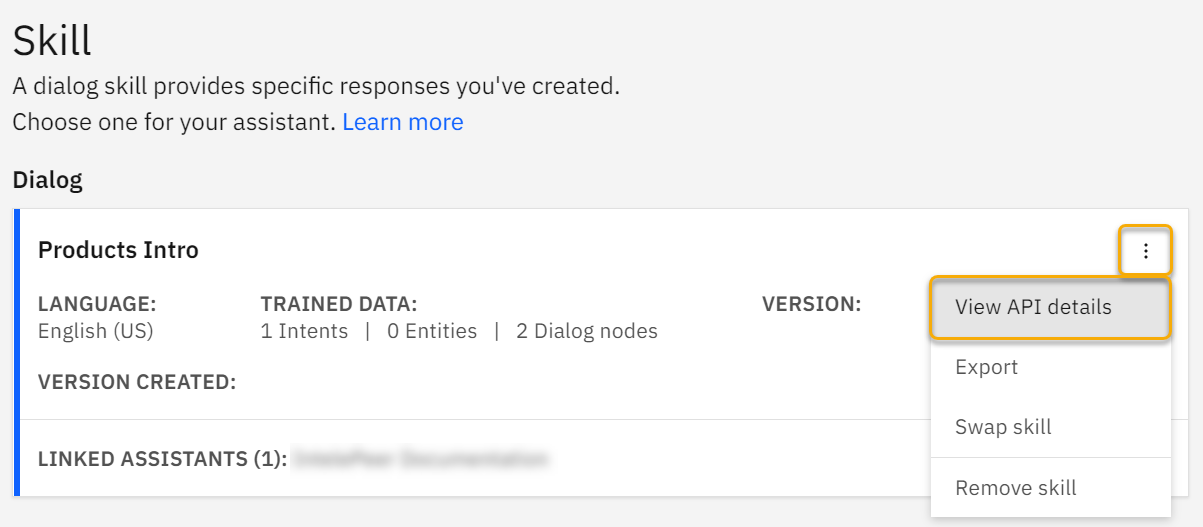
- From the IBM Watson Assistant homepage, in the Assistants section select the appropriate previously created assistant.
- Click the Options button (three dots) in the Dialog section and select View API Details from the drop-down menu.
- You’ll be brought to the Skill details page. Take note of the URL and API key as these will be Inputs in SmartFlows.
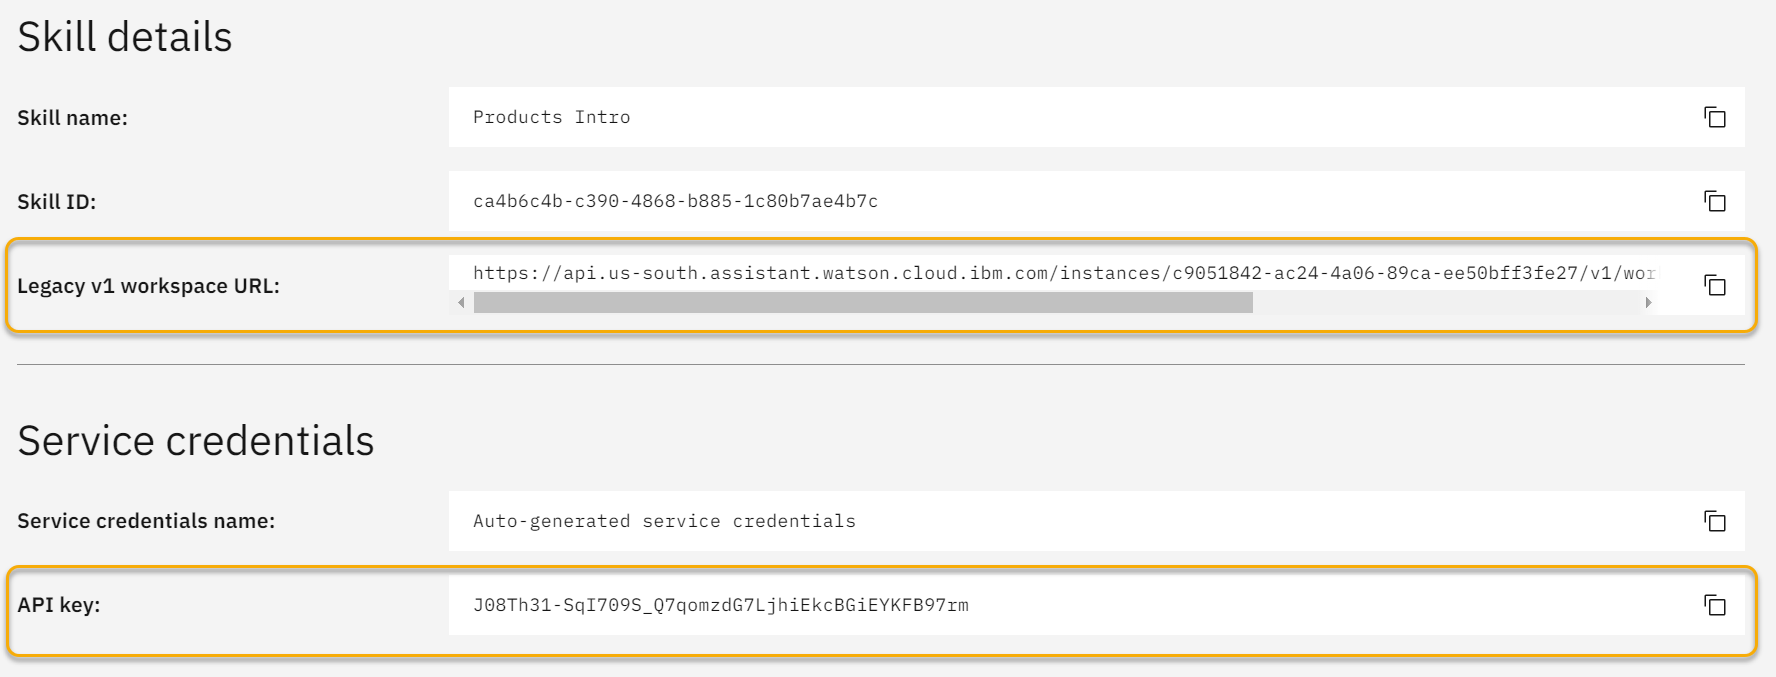
Note: Workspace ID (a required SmartFlow Input field) is included in the Legacy v1 workspace URL after "/workspaces/".

3. Open SmartFlows to Bring Watson Assistant into Your Flow
Here you will have two options: if you want this to be a SMS flow or a voice flow.
SMS Chatbot
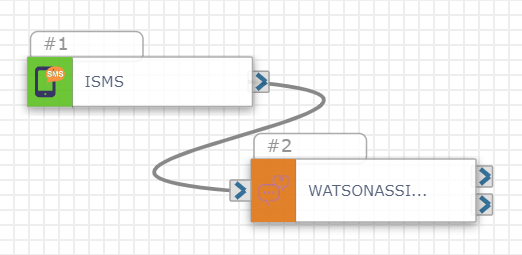
- To begin the flow, drag the Inbound SMS/MMS trigger onto the work board.
- Connect a Watson Assistant action off of the Inbound SMS/MMS. Your flow should look like the this:
- In the configurations panel to the right, paste your Watson Credentials (from above) into the appropriate fields.
- In the Text/Message input field, drag the initial variable of the text message received (ex: $ISMS_1.message) into the box.
- Connect an SMS action to the Watson Assistant action. In the SMS configuration, drag the Watson Assistant response text (ex: $WATSONASSIST_2.responsetext) variable to the Message field.
Voice Chatbot
-
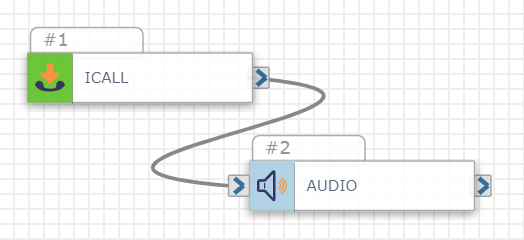
To begin the flow, drag the Inbound Call on to the work board. Then connect a Play Audio action to the Inbound Call.
-
Configure the Play Audio with text-to-speech or audio files to create a welcome greetings for calling.
-
To be able to record the callers voice, you will need to connect a Record Response action to the Play Audio.
-
Now, you will need to drag and connect a Speech Recognition action to the Record Response. This is needed in order for you to transcribe the callers message. In the Inputs section of the Speech Recognition action, select the REC_#.full_recordng variable from the Record Response action for the File Reference field as seen below:

-
Connect a Watson Assistant action to the Speech Recognition. Your flow should look like the following:
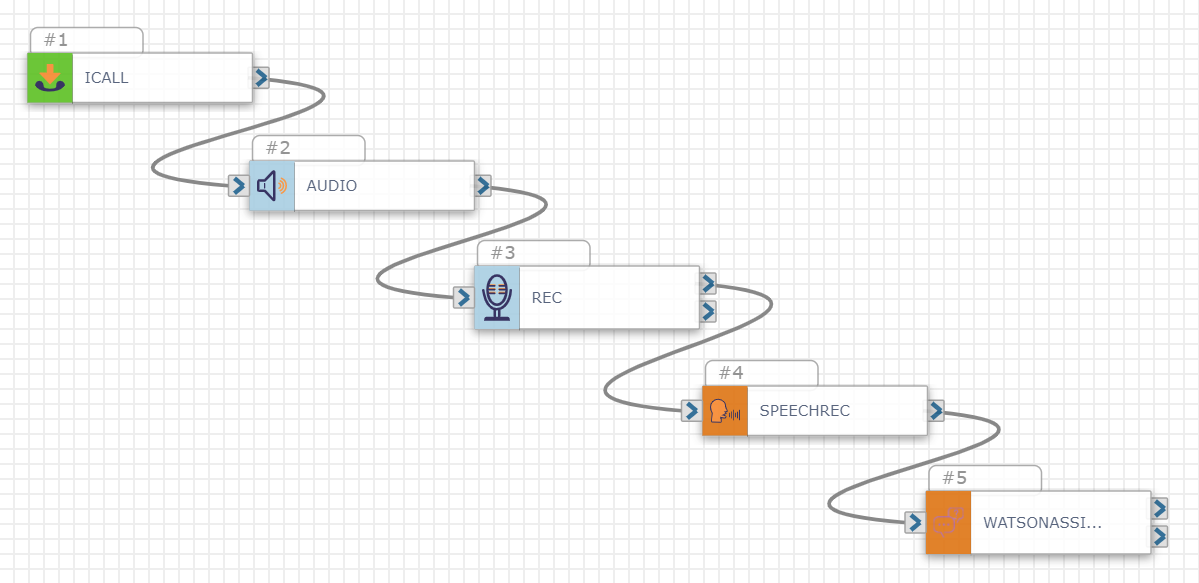
-
Input your Watson Credentials from Step 2 into the appropriate fields. In the Text/Message field, drag and drop the $SPEECHREC.text from the available variables.
-
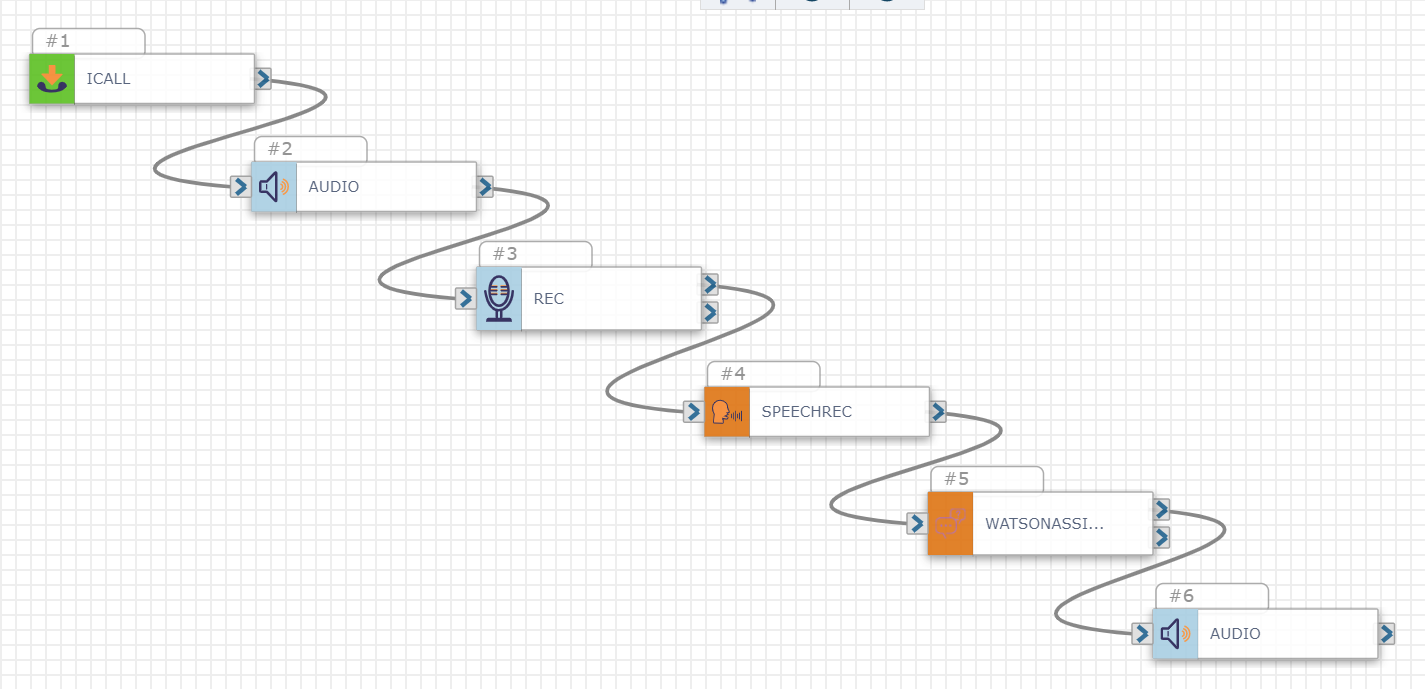
Connect a Play Audio to the Watson Assist. In the configurations, drag the $WATSONASSIT_#.responsetext from the available variables into the text-to-speech box. This will play the response from Watson to the caller.
-
Connect the Play Audio to the initial Record Response. This will allow the caller to continued the conversation with Watson. When you’re done, your flow should look like the following:
4. Save & Deploy Your Flow!
Congrats! You successfully created your Watson chatbot!