Integrating Amazon Alexa with SmartFlows
This guide describes how to use SmartFlows and Amazon Alexa together. Learn more about:
Overview
Amazon’s Alexa voice service helps customers easily interact with your business or services on a range of devices.
While SmartFlows helps you build custom workflows, Alexa can be used to easily execute them. Create your flow in SmartFlows and interact with an Alexa device to initiate the flow.
By integrating SmartFlows and Alexa you, or your customer, can launch complex workflows with just a few words. For example:
-
Send out SMS notifications
-
Check the current status or balance for a monthly bill
-
Activate a new account or service (e.g., activate a new credit card via Alexa voice instead of calling a 1-800 number)
Note: PCI and additional compliance requirements are applicable for this example.
-
Make a payment
Note: PCI and additional compliance requirements are applicable for this example.
Integrating Alexa with SmartFlows
Before You Begin
You’ll need to have a few elements in place prior to integrating SmartFlows and Alexa:
-
An Amazon developer account: Create an account here.
-
Some coding fundamentals: Familiarity with Python coding is needed to build an Alexa skill. Amazon offers some great resources to get you started. We recommend beginning with this video.
-
An IntelePeer API Authentication token: For more information, check out the Authentication page.
Build Your Flow
Your flow can be as simple or complex as needed, depending on what you want your integration to accomplish.
-
Create a new SmartFlow.
-
Your must begin with the Inbound API trigger action, but all of the following actions will depend on your business needs.
-
For example, if you wanted to use an Alexa integration to send an outbound notification, your flow might look like this:
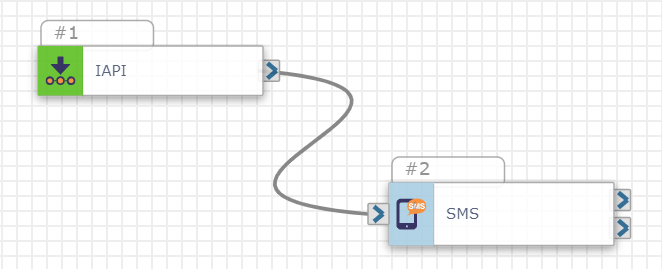
-
-
Save and deploy your flow.
-
Make note of the Flow ID. This system generated unique identifier must be added to your Alexa code later.
Build an Amazon Alexa Skill
Once your workflow is built and deployed, you’re ready to build a few elements within the Alexa developer console.
You will need to create a skill, write some code to guide the first part of the interaction, and link your flow to the skill.
-
Log into your Amazon developer account here.
-
Click the Skill Builders menu option at the top of the page, then the blue Console button.
-
On the Developer Console page, click Create Skill.
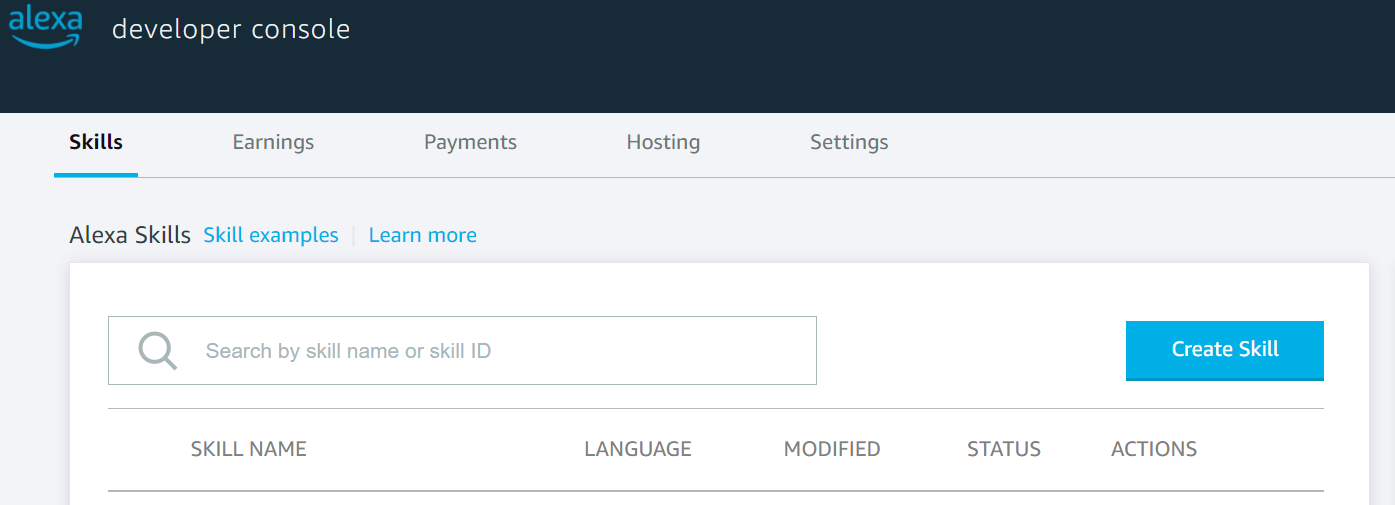
-
Create a new skill:
-
Give your skill a unique descriptive name (e.g., “IntelePeer Alexa Integration”).
-
The “Custom” model is automatically selected and doesn’t need to be updated.
-
Update the selected method to “Alexa-hosted (Python)”.
-
Scroll up to the top of the page and click Create skill.
-
The “Start from Scratch” template is automatically selected and doesn’t need to be updated.
-
Click Continue with template at the top of the page.
-
-
Once your skill is created, you’re automatically directed to Build tab for the skill.
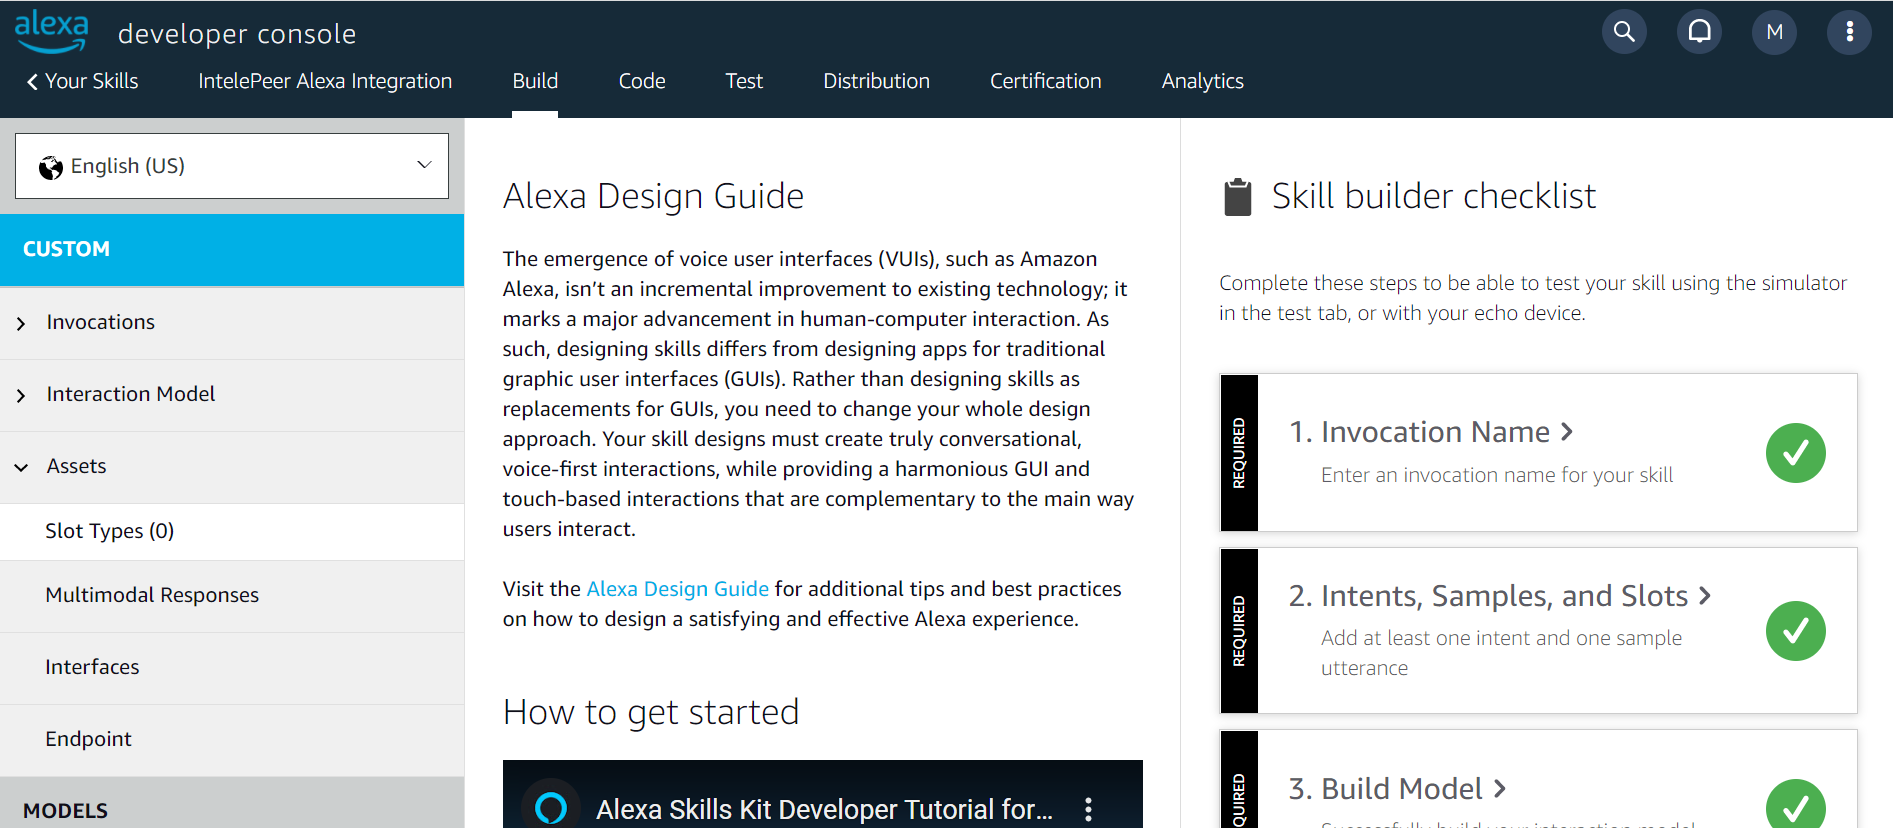
-
From the Skill builder checklist on the right, click 1. Invocation Name.
-
On the Invocation page, type in a value in the Skill Invocation Name field. This is the word or phrase a customer would say to initiate the interaction with your service, prior to launching the skill (e.g., Invocation name “intelepeer notification” would be followed by intent “send_sms”).
-
Click Save Model.
-
-
From the menu on the left, click Interaction Model to expand that section and Intents.
-
On the Intents page a few items automatically listed but you will need to add at least one more. Click + Add Intent.
-
Type a value into the Create custom intent field. This is a word or phrase a customer would say to launch the skill (e.g., intent “send_sms”).
-
Click Create custom intent.
-
A new page for your created intent appears. Add sample utterances in the text box and click the plus sign or enter key. Sample utterances should include anything a customer might potentially say to trigger your intent/skill (e.g., “send message to”, “send a message to”, “send a text message to”, etc.).
-
Click Save Model.
-
-
Click the Build Model button. Your skill will undergo validation and any errors must be resolved before you continue.
Note: If any issues are identified, after you resolve them click the Build Model button again.
-
Click the Code tab at the top of the page. Sample code appears in the lambda function by default.
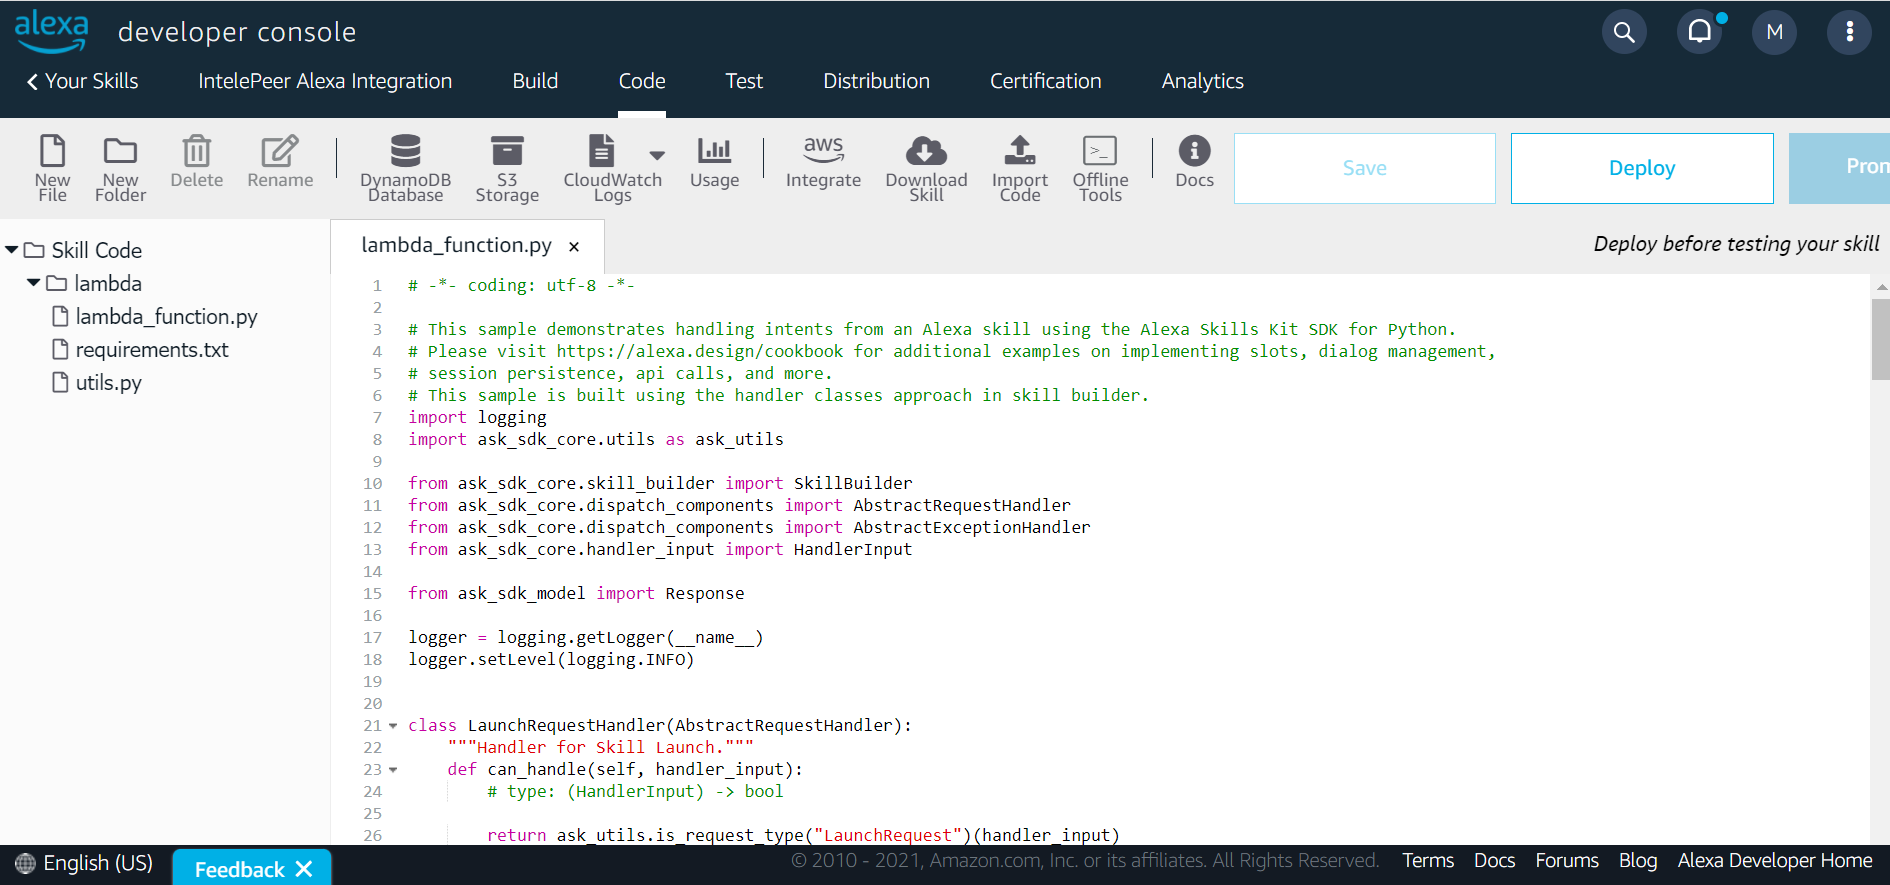
-
You can use the default code, create your own custom code, or a combination of both.
-
You also need to paste in code to reference the flow you created and deployed previously. See the Sample Code below.
-
Once your code is complete, click Save and Deploy at the top of the page.
Note: Once you deploy your new skill it will automatically be activated for any device associated with your account (e.g., you can use an Echo or any other device associated with your Amazon account to experience the integration).
-
-
Click the Build tab at the top of the page, then Endpoint from the menu on the left.
-
Here you can set your endpoint. For more information, check out this page.
-
Click Save Endpoints.
-
-
Click the Test tab at the top of the page. Here you can test out your skill and the integration with your flow, even if you don’t have an Alexa device.
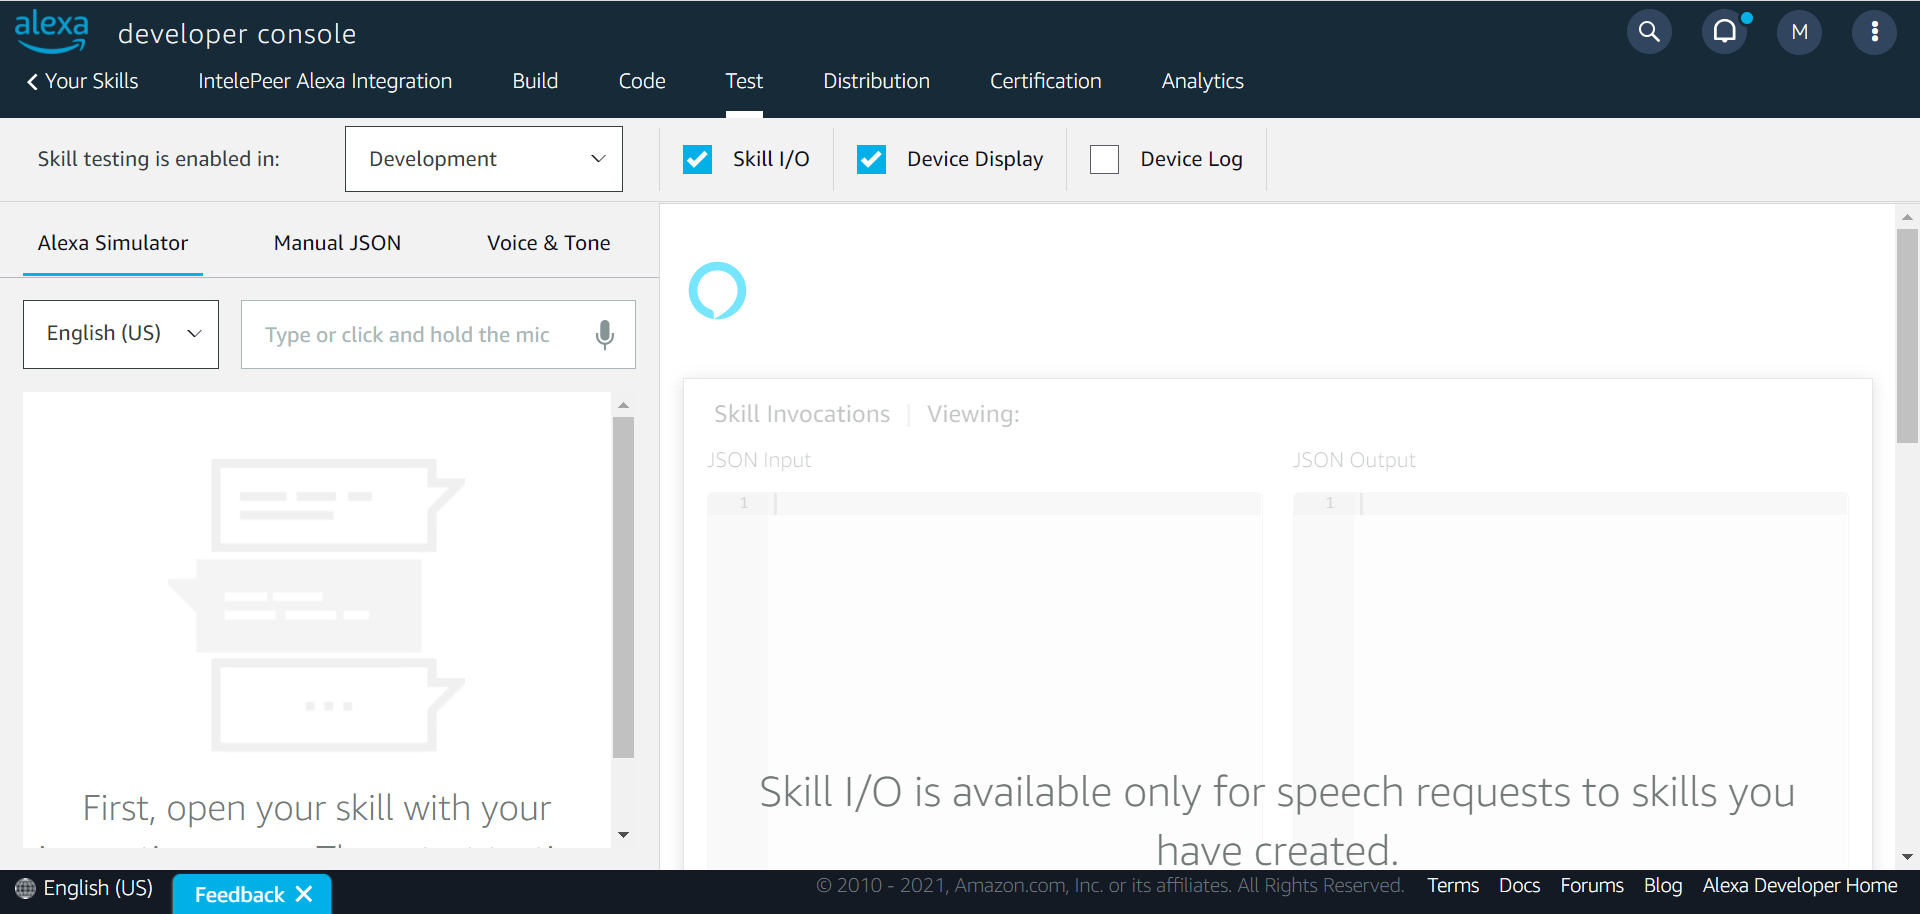
-
From the Skill testing is enabled in drop-down list select “Development” or "Live".
-
In the text box type in your invocation (e.g., “open intelepeer notification”), and engage with the Alexa Simulator. We recommend testing some of your sample utterances (e.g., “send a message to”), and some phrases you didn’t include to understand the full user experience.
Note: All interactions need to be built into the code of your lambda function. You may have to update your sample utterances or add to your code while testing.
-
-
Once the integration is live, you can make the skill available to your customers so they can perform the same interaction on their Alexa devices.
-
Click the Build tab at the top of the page.
-
From the Skill builder checklist, click Monetize Your Skill. From here you can decide if you want your skill to be fee or paid, and submit it for inclusion within the Alexa Skills marketplace.
-
Your integration is complete!
Sample Code
def handle_intent_request(intent, session):
attributes = {}
should_end_session = True
user_gave_up = intent['name']
speech_output = ("Sadly you don't have any fancy titles, quite unfortunate.")
reprompt_text = "Try Intelepeer {} once, please, please".format(SKILL_NAME)
url = 'https://atmosphere-api.intelepeer.com/rest/v1/smartflows/apitrigger'
payload = json.dumps({
"flowId": "XXXXXXXXXXXXXXXXXXXXXXXX",
"ANI": "+1XXXXXXXXXX",
"DNIS": "+1XXXXXXXXXX"
})
headers = {
'Authorization': 'XXXXXXXXXXXXXXXXXXXXXXXXXXXXXXXXXXXXXXXXXXXXXXXXXXX',
'Content-Type': 'application/json'
}
response = requests.request("POST", url, headers=headers, data=payload)
print(response.text)
speech_output=("Intelepeer has just sent your message")
print(speech_output)
return build_response(
{},
build_speechlet_response(
SKILL_NAME, speech_output, reprompt_text, should_end_session
))
Tips
-
Your SmartFlow must begin with the Inbound API trigger action. This is what links your flow and Alexa.
-
If you make any changes to your flow in SmartFlows, you must deploy your flow again so that the most recent version is available. You won’t have to make any updates on the Alexa side unless you want to pair a completely new flow with Alexa.
-
We recommend testing your integration to confirm the flow and Alexa interaction are both working as expected.
For more detailed information about Amazon Alexa or SmartFlows, check out: