Managing 10DLC Campaigns
This guide describes how to set up and manage 10DLC campaigns in the Customer Portal. Learn more about:
Overview
Setting up and managing 10DLC campaigns generally involves these steps:
-
Collect the information you’ll need to successfully fill out the Brand Registration form and the Campaign Registration form. For more information on what you’ll need to collect, check out Why You Need to Know About 10DLC and Toll-Free Verified Numbers.
-
Order numbers and/or review current number inventory.
-
Complete the Brand Registration form; save for later completion or submit. When you submit, you can vet the brand.
Note: Brand registration times vary. It may takes a few hours to complete registration, and vetting may take about 30 minutes.
-
Complete the Campaign Registration form; save for later completion or submit. When you submit, you can arrange for number pooling.
Note: This processing time varies; however, a clean submission with no rejections with under 49 DIDs takes 7-10 days. If you are submitting over 49 DIDs, the process takes 3-4 weeks.
-
From the Compliance > Messaging page, you can request to view the details, vet, or delete your brand, and view or delete a campaign.
-
Manage numbers and actions (for example, adding or removing messaging) from the Customer Portal. From your package or packages, select the numbers you want to edit and choose the Messaging: Add or Messaging: Remove action from the Select an Action drop-down list.
-
You can also make changes that affect your campaigns by clicking Show My Numbers at the bottom of the Home page.
Navigating to the Messaging Page
-
To create, view, and manage your brands and campaigns, log into the Customer Portal.
-
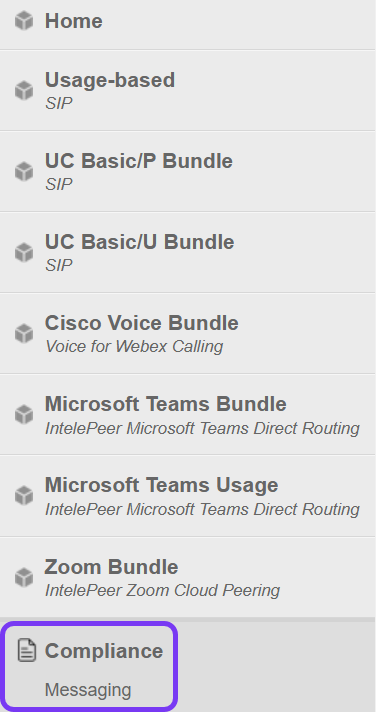
In the left column, click Compliance > Messaging. The Messaging page is displayed.
Understanding the Messaging Page
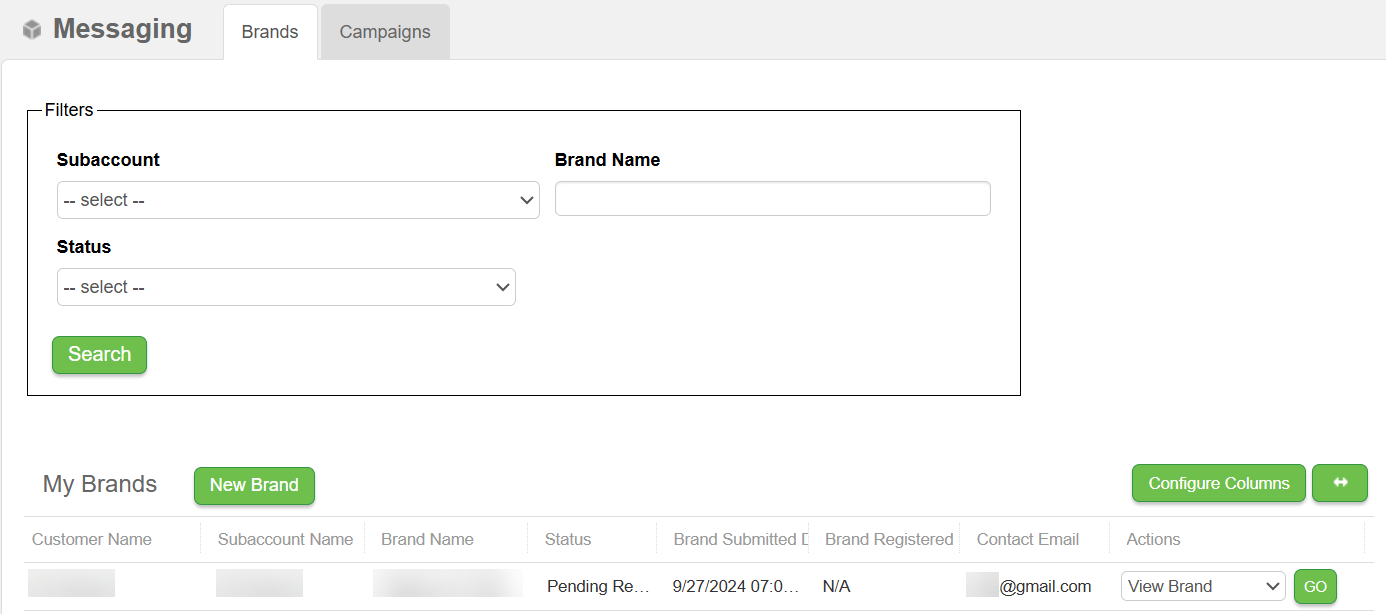
The Messaging page allows you to create new brands and campaigns, as well as view information and manage your brand and campaign capabilities. The page defaults to the Brands tab.
Note: You can configure your columns as you can with other pages by clicking the Configure Columns button.
From the table Actions column, click the appropriate menu drop-down to do the following:
-
View— Review the details for your brands or campaigns.
-
Edit—Only available for campaigns that have not been registered or submitted for registration. The edit capabilities are removed from a rejected campaign. When a campaign is rejected in the vendor portal, you are not allowed to edit. You must submit a new campaign request.
-
Delete—Delete a campaign. Campaigns can only be deleted once the numbers have been removed.
-
Vet—For brands, you can elect to have them vetted. If the brands can't be vetted, the choice is absent from the Actions list.
Note: Vetting assigns a score to your business based on various factors, such as activity history, network reputation, and other relevant data points. The score helps assess the likelihood of the phone number being associated with fraudulent or abusive activity, and enables businesses to make informed decisions about whether or not to send messages to a particular number.
Creating a campaign and adding numbers to a campaign may require you to attach documents to continue the process:
-
Add Document—Allows you to add a document as they can for a number port, for example, an LOA.
-
View Document—View any attached documents.
Filters
Use the following filters to limit your search of a brand or campaign.
| Field | Description |
|---|---|
|
Subaccount |
ID number provided by IntelePeer, associated with billing the responsible party; format: {The ID}-{sub account name}. |
| Brand Name | Name given to the brand when registering it; always is your Doing Business As (DBA) name that matches the EIN provided; check out Using the 10DLC Brand Registration Form |
| Campaign Name | Name given to the campaign when registering it; check out Using the 10DLC Campaign Registration Form |
|
Statuses for Brands:
Statuses for Campaigns:
|
Creating Brands and Campaigns
At the top of the My Brands and My Campaigns tables, you can click New Brand or New Campaign. When you click New Brand, the Brand Registration form appears. When you click New Campaign, the Campaign Registration form appears.
For more details, check out Using the 10DLC Brand Registration Form and Using the 10DLC Campaign Registration Form.
Shared Table Fields
| Field | Description |
|---|---|
| Customer ID | An IntelePeer customer identifier |
|
Customer Name |
Name given for your account |
|
Sub Account ID |
ID number provided by IntelePeer, associated with billing the responsible party |
|
Sub Account Name |
Name for your account used for billing purposes |
|
Status |
For more information, check out Status |
|
|
This customer contact information identifies who submitted the brand or campaign |
My Brands Table Fields
| Field | Description |
|---|---|
| Brand ID | The ID of the brand |
|
Brand Name |
Customer-defined name of the brand |
|
Vetting Status |
The status of the vet; possible statuses: STANDARD, ENHANCED, and POLITICAL |
|
Vetting Type |
Types include Standard |
|
Vetting Score |
Score the brand received after being vetted |
|
Vetting Submitted Date |
Includes date and time of submission |
|
Vetting Completed Date |
Date the vetting was completed |
|
Brand Submitted Date |
Date of brand submission |
|
Brand Registered Date |
Date of brand registration |
My Campaign Table Fields
| Field | Description |
|---|---|
| Campaign ID | A system-generated ID for the campaign |
|
Campaign Name |
Name given to the campaign when registering it; check out Using the 10DLC Campaign Registration Form |
|
Campaign Type |
Choices: Standard or Pooled |
|
Numbers Assigned |
Identifies the amount of numbers associated with the campaign |
|
Use Case |
More than one can be selected |
|
Status Info |
Provides added information when an action is required by you or by IntelePeer |
|
Date Submitted |
Date the campaign was submitted to be registered |
|
Date Registered |
Date the submitted campaign was registered |
Understanding Parent and Subaccount Use
When you log into the Customer Portal, depending on your permissions, you are logged into either the Parent account for your company or an associated Subaccount. Permissions are set up on the User Management page. For more information, check out Managing Users in the Customer Portal.
-
You can view your subaccounts on any page by clicking Switch Account in the top left corner of the page. You can also use the Subaccount filter to view your subaccounts.
-
The Parent account can view subaccount brands and campaigns for all its subaccounts. The Subaccount can only see the brands and campaigns under that subaccount regardless of whether the user has permissions to see other subaccounts.
-
When creating a campaign, you can only associate brands to the campaign that belongs to the account that the campaign is being created on.
-
On the Campaigns tab > New Campaign, click the Associated Brands menu to select the brands you can use.
-
You can only assign numbers to the campaign that are under the account or subaccount.
-
When creating a campaign from the Parent account, you can only assign brands and numbers that are listed under the Parent account.
Manage Your Numbers
To make changes to your numbers:
-
At the bottom of your Home page, click Show My Numbers. The My Numbers tables are displayed in local, toll-free, and short code sections.
Note: You can manage numbers on both your Home page and any of your packages by locating the number and clicking Manage.
-
Click Manage for the numbers you want to edit. The Manage Numbers page appears.

-
Click Configure Columns if you want to make changes to the table contents. Messaging column titles include SMS Status, MMS Status, Webhook, Brand ID, and Campaign ID.
-
Use the search feature located at the top of the page to narrow down the list to those numbers you want to work with. The menu provides several ways to search.

-
When managing your US domestic, toll-free, and Canadian numbers (found on the International Numbers tab), use the Select an Action menu to do the following for numbers to be used in messaging:
| Action | Description |
|---|---|
| Messaging: Add | Add an existing number to an existing campaign for messaging |
|
Messaging: Remove |
Remove messaging service from the number; this action removes the number from the campaign and then disables the number for messaging; the number remains in your inventory for later use |
|
Webhook: Add |
Add a webhook to a number used for messaging |
|
Webhook: Remove |
Remove a webhook from a number |
Manage Messaging
Numbers can be added to existing campaigns. If no campaign exists, you must first create one and register it. Otherwise, message activation can’t proceed. For more information, check out Using the 10DLC Brand Registration Form and Using the 10DLC Campaign Registration Form.
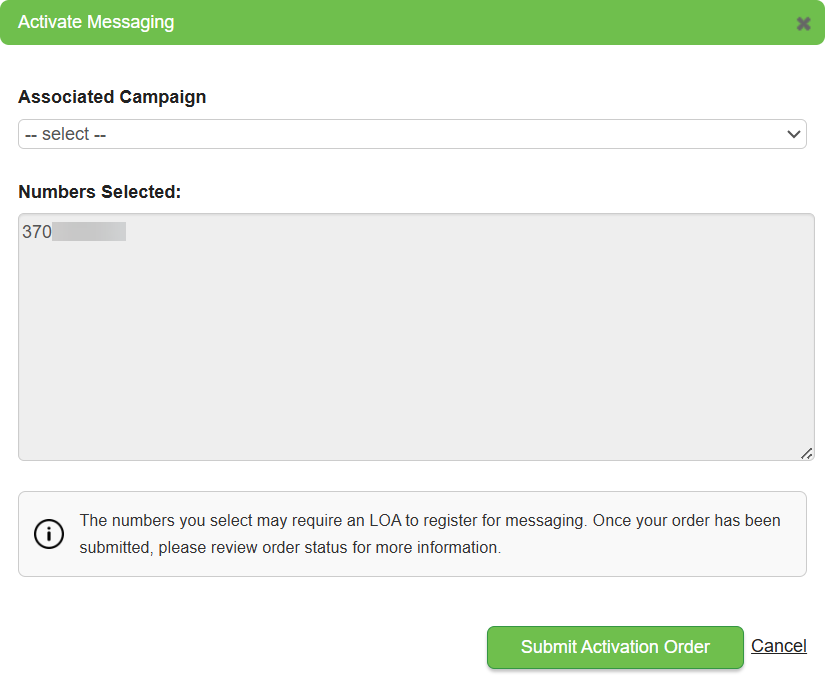
Note: The numbers you select may require a Letter of Authorization / Agency (LOA) to register for messaging. Once your order has been submitted, review the order status on the Manage Numbers page for more information.
On the Manage Number page, you can add or remove messaging for your numbers:
-
From the Home page, at the bottom of the page, click Show My Numbers.
-
Click Manage in the appropriate section (e.g., Local (US Domestic) Numbers). The Manage Numbers page appears.
-
Search for and select the check boxes for the number(s) you want to update.
-
From the Select an Action menu, click Messaging: Add or Messaging: Remove.
-
If you are adding messaging:
-
In the Activate Messaging pop-up, your selected number(s) appear and can be assigned to a campaign.
-
Select the appropriate campaign from the Associated Campaign drop-down list.
-
Click Submit Activation Order.
-
-
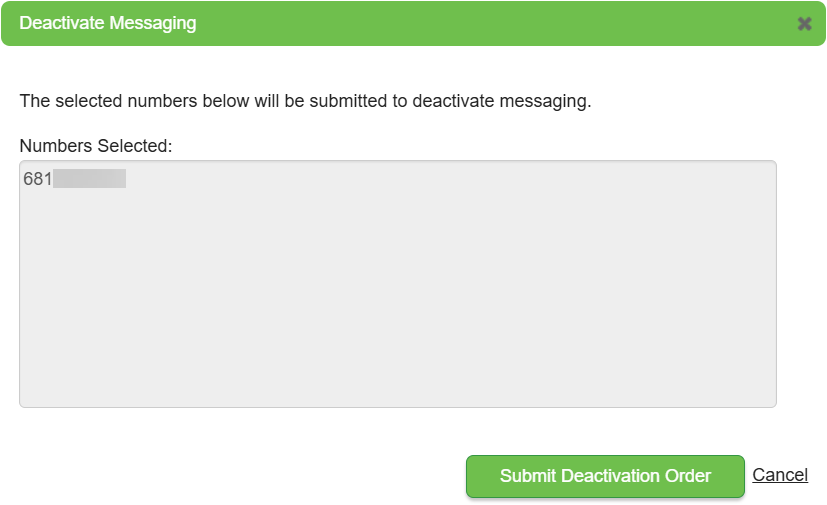
If you are removing messaging:
-
In the Deactivate Messaging pop-up, your selected number(s) appear before you confirm the update.
-
Click Submit Deactivation Order to continue or Cancel to edit your selected number(s).
-
-
-
A confirmation message informs you when you successfully added or removed messaging.
Manage Webhooks
On the Manage Number page, you can add and remove webhooks for your messaging numbers:
-
From the Home page, at the bottom of the page, click Show My Numbers.
-
Click Manage for the type of number you are working with, for example, Local (US Domestic) Numbers. The Manage Numbers page appears.
-
Search for and select the check boxes for the number you want to work with.
Note: Your numbers must have messaging activated before you can add a webhook.
-
From the Select an Action menu, click Webhook: Add or Change or Webhook: Remove.
-
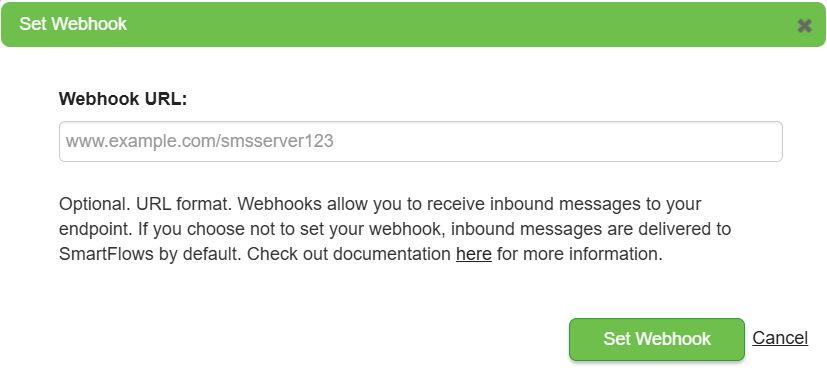
If you are adding a webhook:
-
In the Set Webhook pop-up, enter the appropriate URL in the text box and click Set Webhook.
-
-
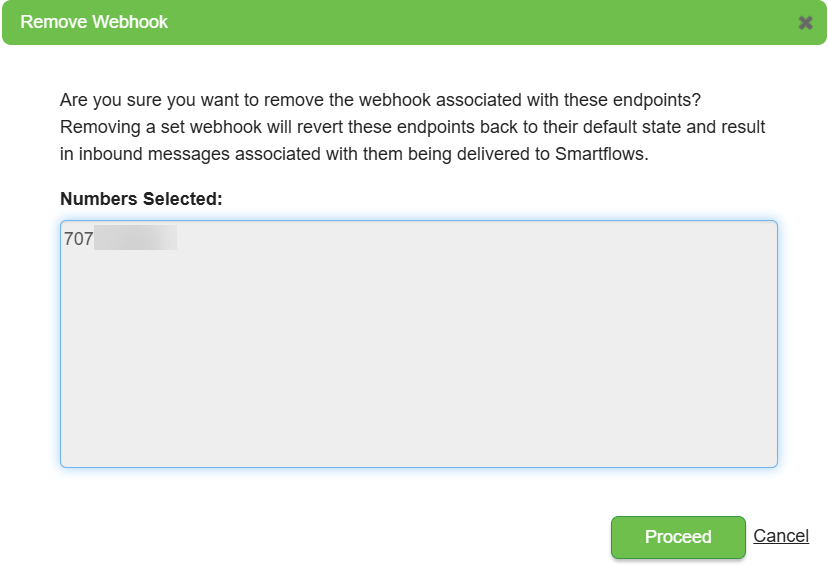
If you are removing a webhook:
-
In the Remove Webhook pop-up, your selected number(s) appear before you confirm the update.
-
Click Proceed to continue or Cancel to edit your selected number(s).
-
-
-
A confirmation message informs you when you successfully set or remove webhooks.
View Messaging Orders
In the left column of the Home page:
-
Click View Orders to review information on batches and the orders you’ve placed.
-
On the View Orders page, click the Messaging tab.

-
The columns display information on Order, Brand, and Campaign IDs, and Order Date, Type, and Status. Also included are Details and LOA columns.
-
The page displays a table with ten (10) orders maximum. Use the filtering menus at the top of the table to narrow the focus (for example, if you want to see only orders that have a status of Completed Campaign Registration). At the bottom of the page, use the pagination controls to view another ten orders.
-
From the Actions column, select a choice from the menu (for example, View Batch) and click GO.