How to Filter Your Data
You can filter your data for a specific date range in the Voice, Messaging, and SmartFlows dashboards. For information on available data for filtering, see Data Availability and Refresh Rate.
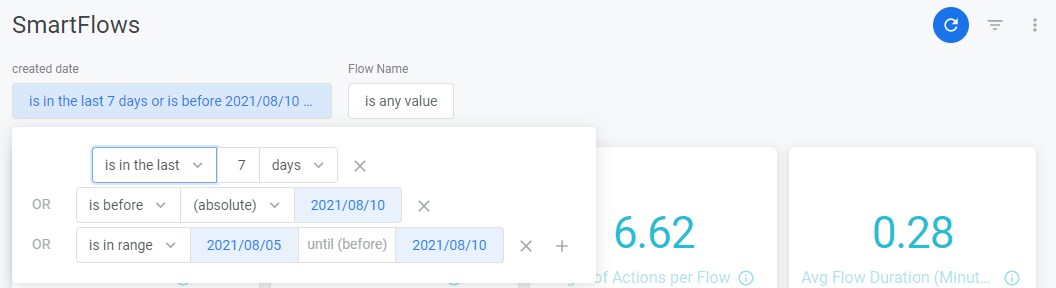
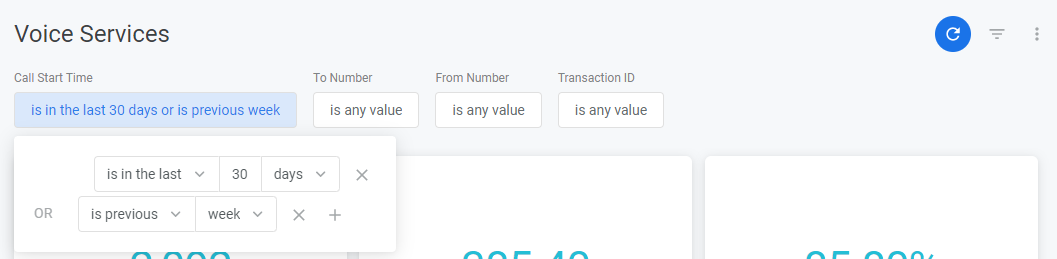
Filtering options are provided just above the data widgets. The types of filtering options available to you depend on the dashboard you are using. For example, for SmartFlows dashboard, you can filter by Created Date and Flow Name. For the Voice Services dashboard, you can filter by Call Start Time, To Number, From Number, and Transaction ID.
Filtering by Date
When filtering by date for your dashboard, use the following guidelines:
| Timeframe Chosen | Graph Dispays in |
|---|---|
| Less than 1 Day | 15 minute blocks |
| From 1 day to 2 days | Hours |
| Greater than 2 days to 3 weeks | Days |
|
Greater than 3 Weeks to 3 months |
Weeks |
|
Greater than 3 months |
Months |
To use and reset the filters:
-
Click the filter field you want to use. A pop-up appears.
-
Use the menu to set up your filtering criteria. In some menus, you can click the plus (+) icon to further specify your filter.
-
You can use as many of the filtering options as you need to tailor your filter.
-
Once you have set up your filtering criteria, in the upper-right corner of the page, click the Update icon; it turns blue to show you have set up filters. The widget contents change to reflect the filter you have set up.
-
To reset your filters back to the default settings, in the upper-right corner of the page, click the Dashboard Actions (three dots) icon > Reset Filters.
If you want to download data from the dashboard with the new filters in place, check out How to Download Dashboard Data.