AI Studio Block Agent Canvas
This guide describes the available features on the AI Studio canvas. Learn more about:
Overview
The AI Studio Canvas View is a powerful resource for understanding and testing your Block Agents. From the canvas you can:
-
Easily visualize your Block Agent and all of the underlying components (individual Blocks, Tools, Turns, Edges, etc.)
-
Understand how the agent elements are connected
-
Make quick updates in easy-to-understand fields or update the underlying JSON
-
-
View previous agent interactions
-
View and remediate potential issues with your agent
-
Test out your agent
Note: The canvas is only available for Block Agents.
Navigate to the AI Studio Canvas
-
Log into the Customer Portal.
-
Open the AI Studio app.
-
From the AI Studio Agents page, find a previously created Block Agent.
-
You can also create a new Block Agent (click + New Agent, complete all the details about your agent (make sure to select “Block Agent” as the Type) and click Create Agent).
-
-
On the Block Agent tile, select the red view canvas button.
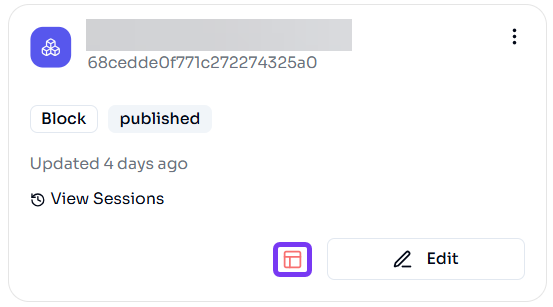
Note: You can also click the Edit icon for the agent you want to view and then click the Canvas View button at the top right side of the page to navigate to the same view.
-
The Canvas View appears.
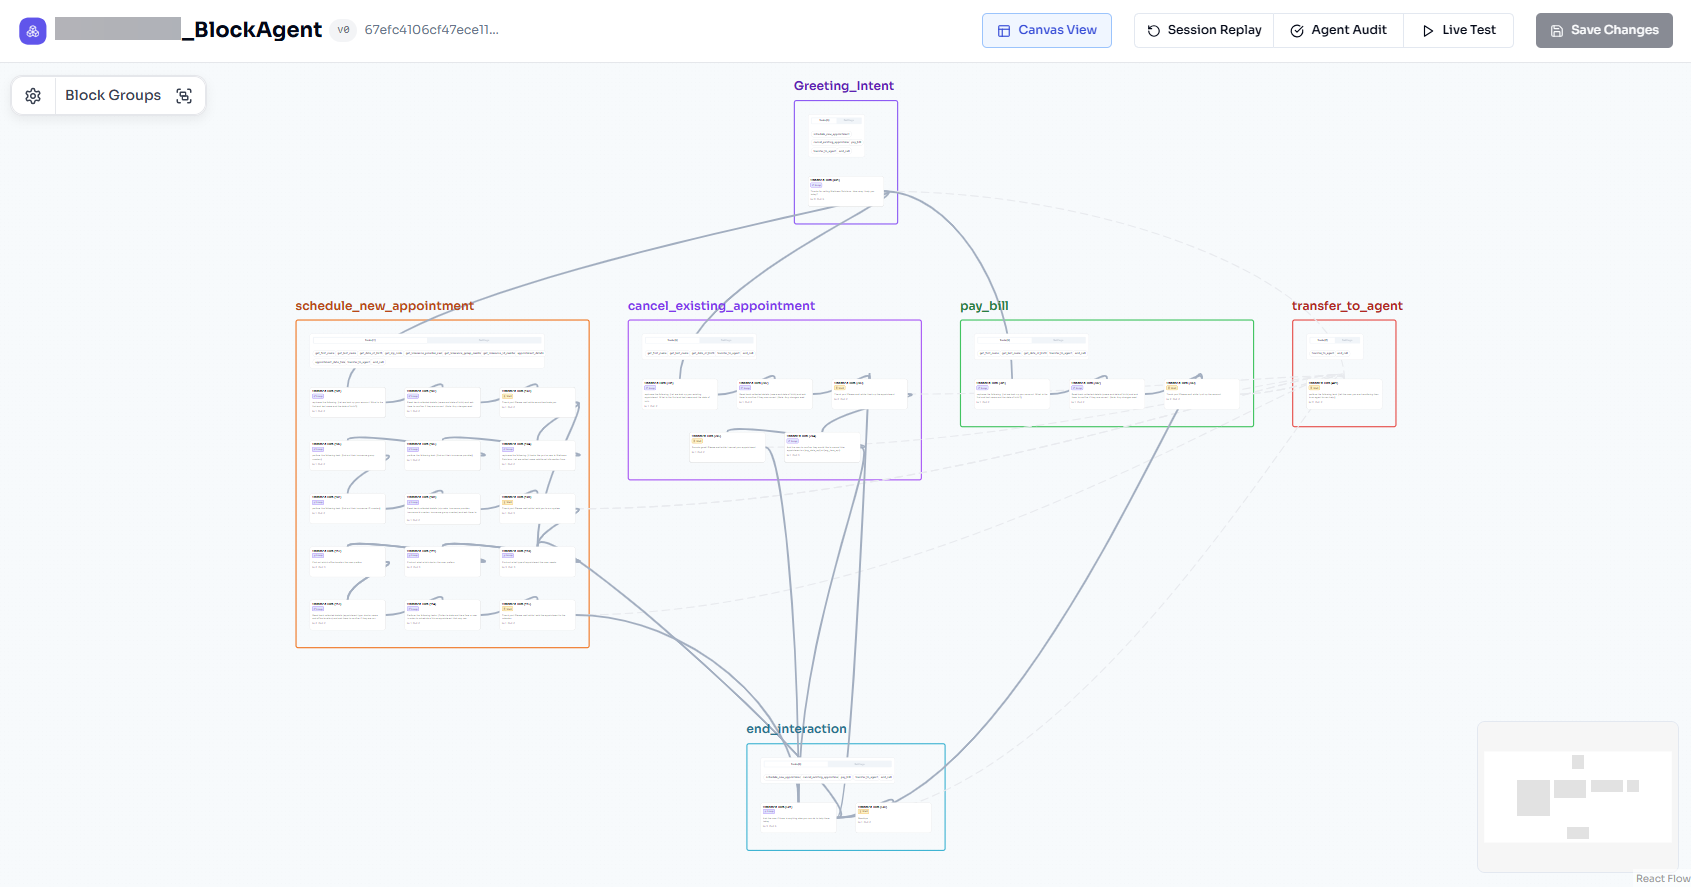
View Block Agent Configurations
From the Canvas View, you can view all of the components of your agent at a high level, or dive deeper into the details of individual segments.
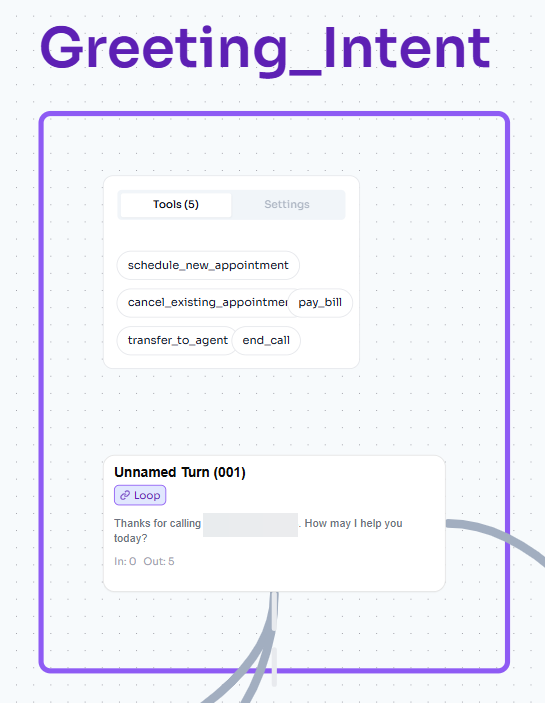
Under each Block you'll see the Tools and Turns within it.
Click on a Tool to view more information about the configurations (Styled tab) and the underlying JSON.
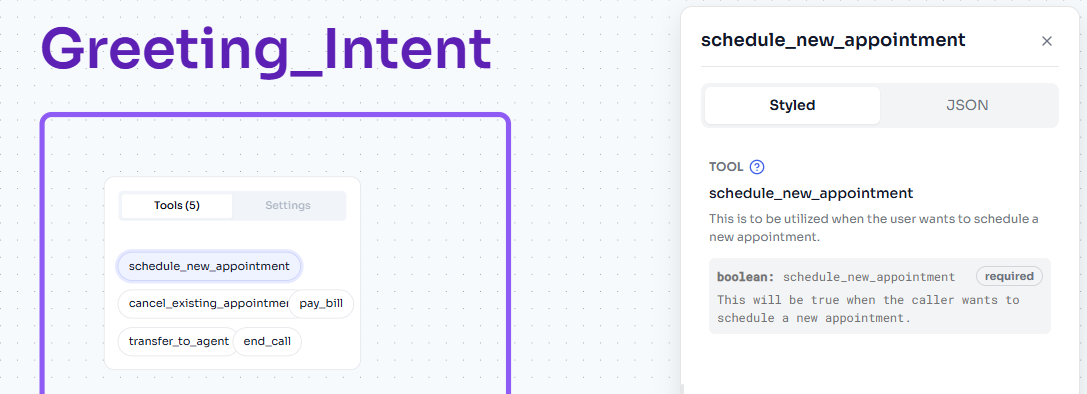
The associated Edges are also highlighted, so you can follow along with the path of your agent when that Tool is fired.

Each Turn is automatically labeled with the type (i.e., “Loop” in our example below). Click on a Turn to view more information about it and the Edges connected to it.
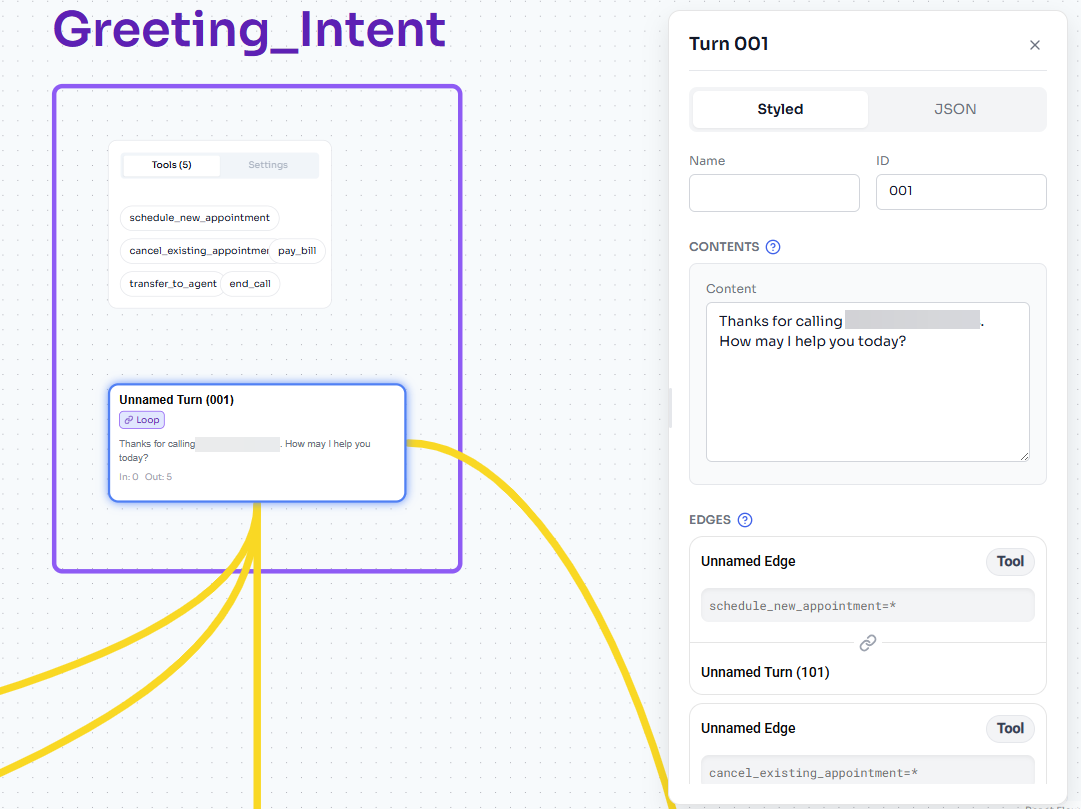
Note: When you’re exploring the agent elements on the canvas, if you notice something is incorrect or needs to be updated, you can go ahead and update some of those fields here (e.g., Block name; Turn name or content; Edge name, connect to value, or transition prompt). Just remember to click the Save Changes button at the top right-hand side of the screen
Canvas Controls
In the top left-hand corner, click the Controls icon to change the look of your canvas.
| Canvas Control | Description |
|---|---|
| Edge Style | The visual style of your edges |
| Playback Animation (ms) | The number of milliseconds Session Replay playback |
| Fill Blocks |
Enable this toggle to fill in the background color of your agent Blocks. If this toggle is off, the Blocks are outlined and transparent. |
| Prefer Names |
Enable this toggle to view the names associated with each Turn, followed by the Turn number. If this toggle is off, just the Turn number appears. |
| Show Edges |
Enable this toggle to view your Edges. If this toggle is off, the Edges are hidden. |
| Turn Layout |
The orientation of your agent on the canvas. You can switch between “Topdown” or “Snake” to see which layout works best for your use case. |
| Reduce Clutter |
Enable this toggle to minimize some of the elements on the canvas. For example, all of the Edges that go to your error/transfer to live agent Turn might be greyed out. If this toggle is off, everything will appear with equal weight. |
| Clutter Threshold |
When this feature is on, for any Turn that has more Edges leading to it than your threshold value, all of the Edges are de-emphasized (grey and dashed). Note: Must be 1 or greater. |
|
Dev Only |
We recommend not using the controls in this section at this time. |
|
Redraw Edges |
Use this button to refresh your controls. |
Block Groups
In the top left-hand corner, click Block Groups.
Each of the individual Blocks in your agent are listed in a default order and groupings.
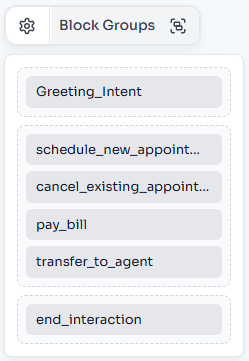
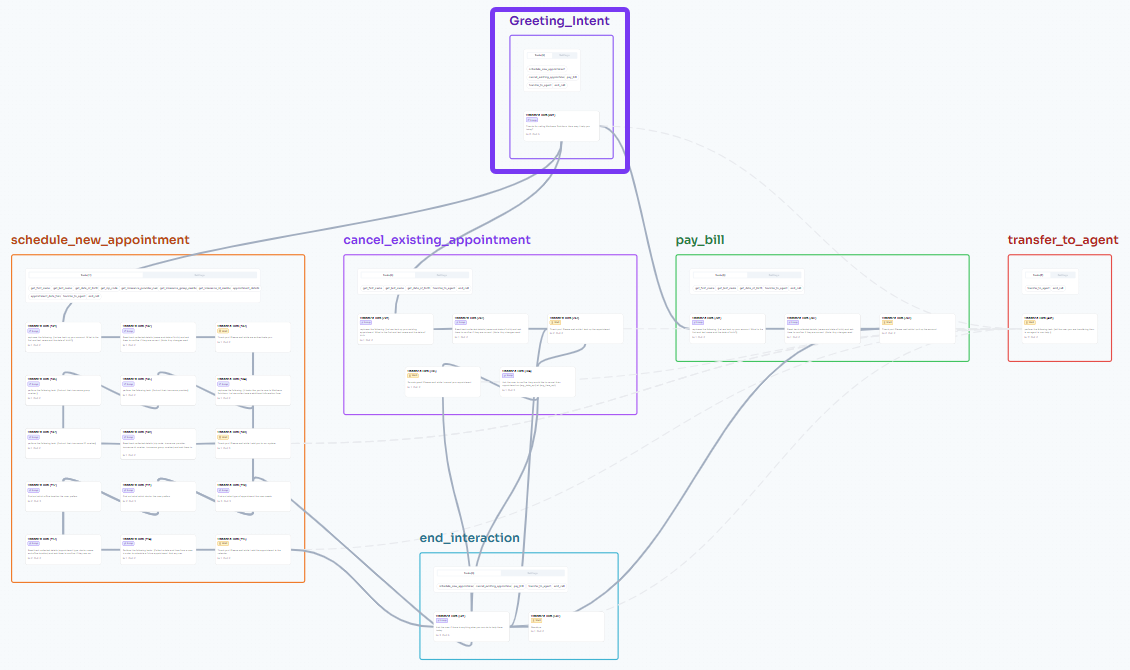
The Block Groups configuration reflects how your Blocks appear on the canvas. In our example above, we see the Greeting_Intent Block is on the top of the list and by itself. When we look at the canvas, that Block is visually at the top of the page and all the other blocks are below it.
To change the default Block Groups order and groupings, you can click and drag the individual Blocks within the drop-down, into your preferred configuration.
We recommend organizing your agent into logical sections. For a Block Agent that represents a full call, this would normally look like:
-
Call entry (e.g., greeting, intent capture, ID & Auth, etc.)
-
Main interaction elements (e.g., make a payment, schedule an appointment, etc.)
-
Call end (e.g., transfer to agent, end of call survey, etc.)
View Sessions
Once your Block Agent is drafted and you’ve tested it out through the AI Studio Live Test feature, you might encounter an issue where the agent behaves unexpectedly and you’re not quite sure what went wrong. Viewing session information for your agent interactions helps you understand the exact course of your Block Agent, illuminating what when right or what might need a few tweaks.
Click the Session Replay button at the top of the page to view previous interactions with your agent.
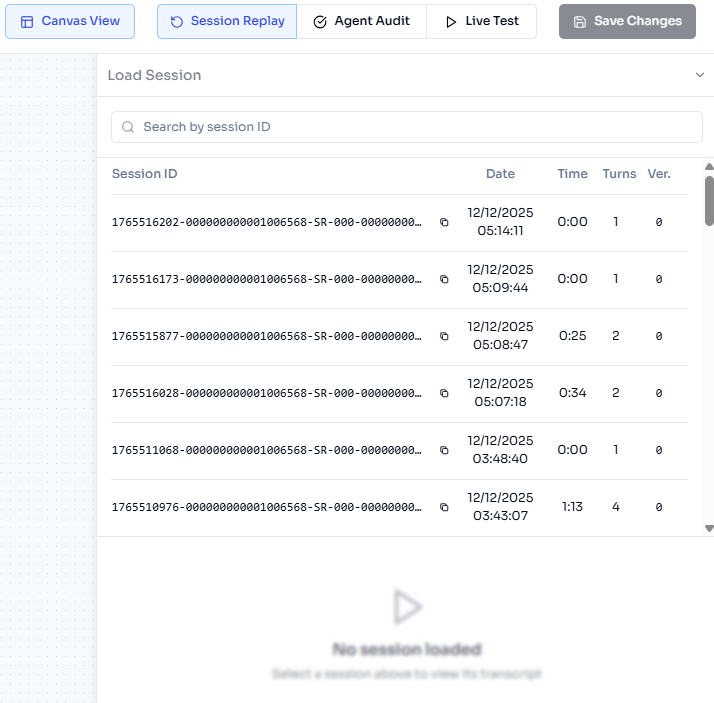
Click on a session from the list to load it.

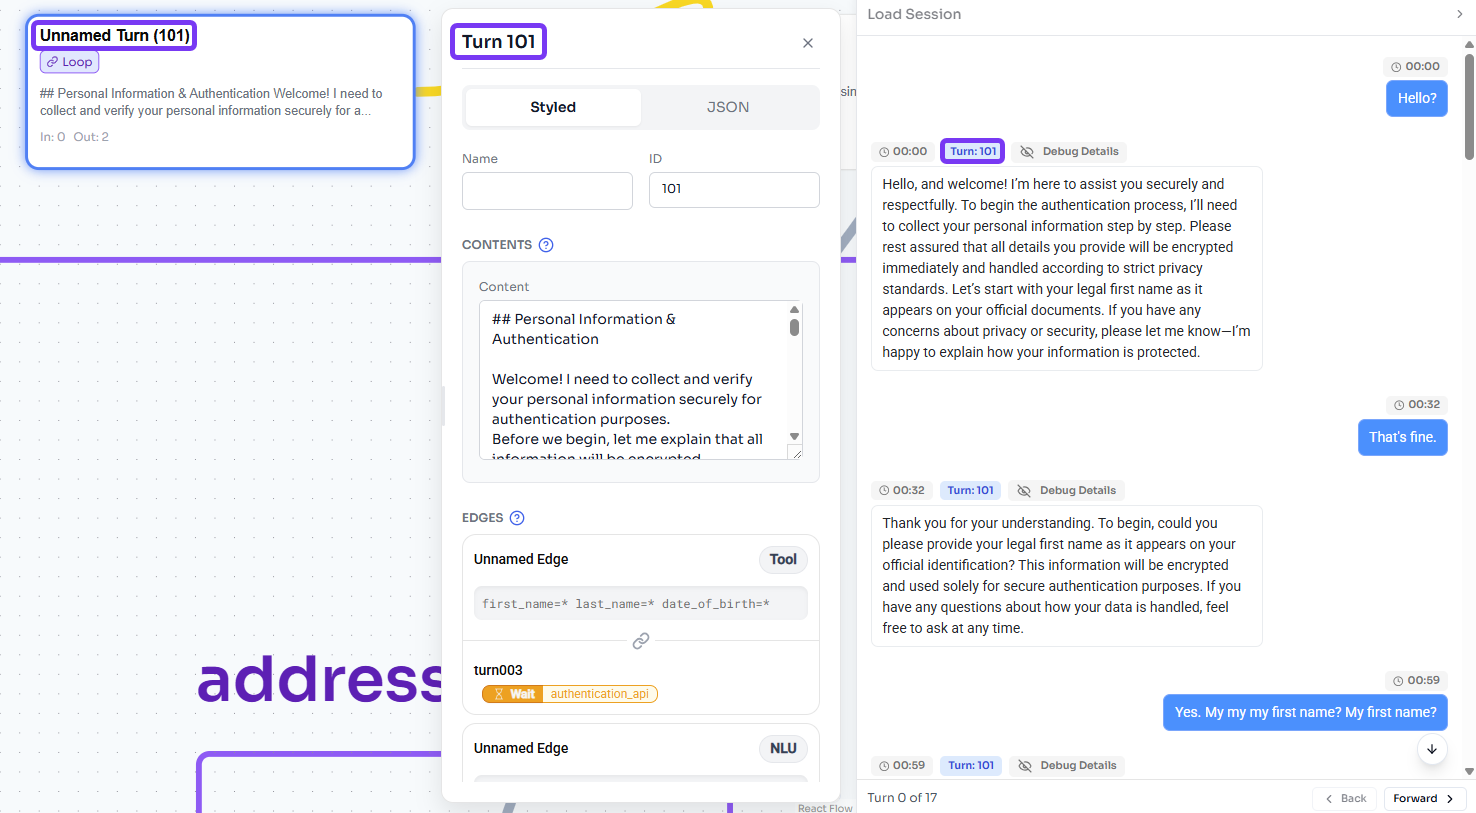
Here you can see a transcript of the full interaction, with timestamps and the relevant agent element (e.g., Turns) labeled.
Click on one of the agent messages to highlight and open the relevant element configurations. Here you can review your configuration and see what might have caused the issue.
View Potential Errors and Warnings
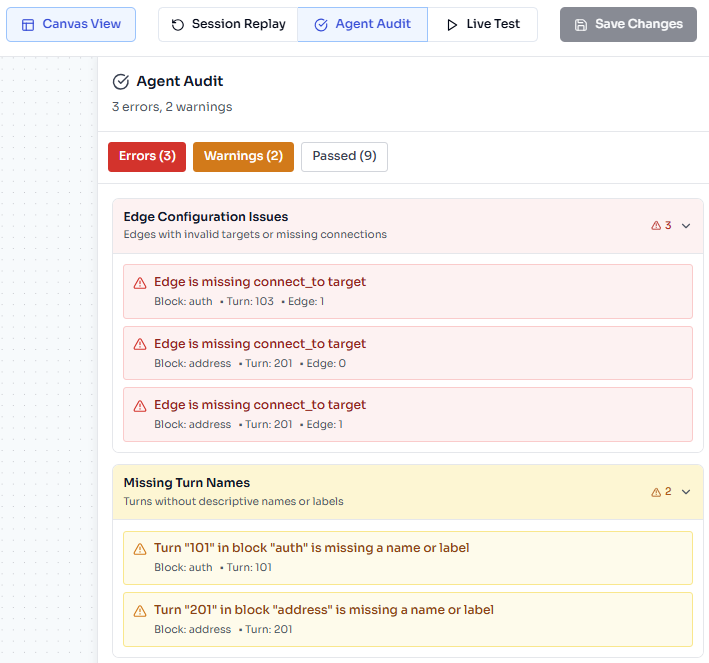
Click the Agent Audit button to view system-generated errors and warnings that may impact your agent’s performance.
-
Errors are highest priority and should be addressed before you publish your agent.
-
Warnings are typically nice to have updates that will help your teammates understand your agent and might make your life easier during testing or troubleshooting.
-
Passed items are things the system checked for and successfully affirmed in your agent.
Click on an error or warning to highlight the agent element at issue and open the configurations.
Test Your Agent
Click Live Test at the top of the page to test out your agent and confirm it moves through your agent elements as expected, and responds to user messages as expected.
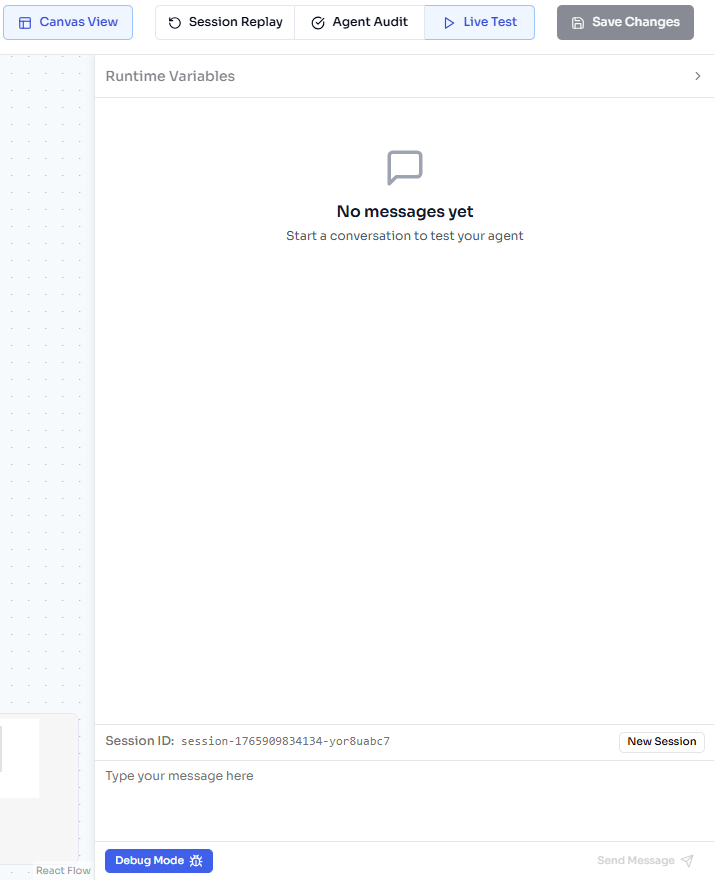
In the Runtime Variables section, you can add appropriate test data in the Flow Arguments tab or add a parameter in the Query Parameters tab.
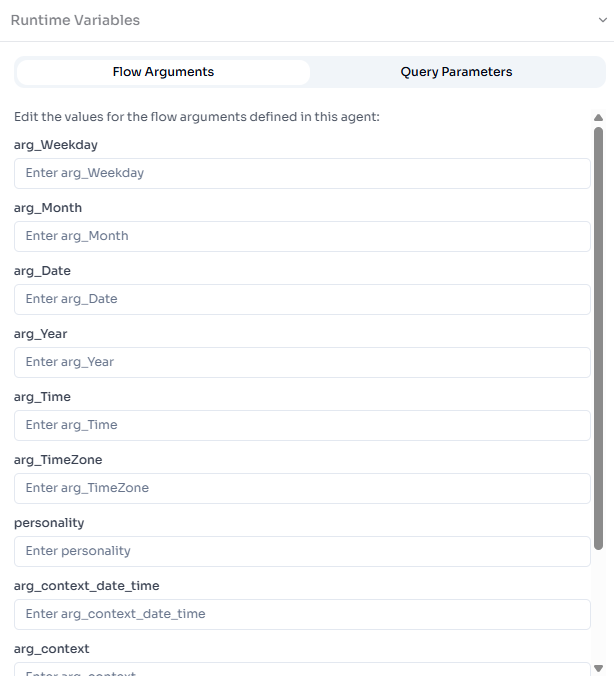
Note: You can modify the flow arguments Turn by Turn. This is especially useful when the Block Agent is returning from a wait Turn.
Then send sample messages to your agent via the text box.
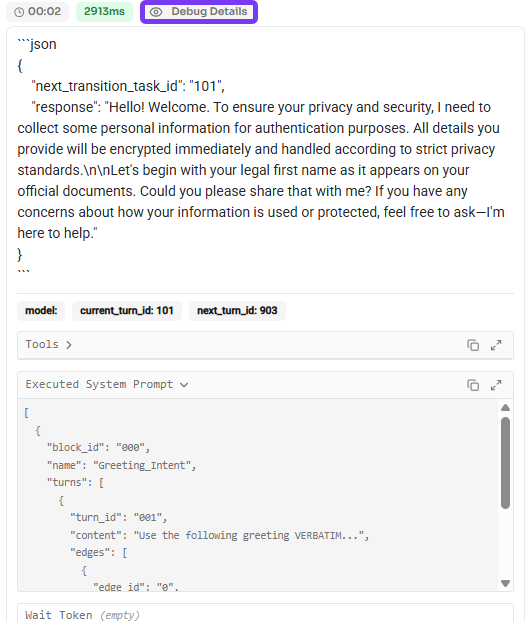
You can click Debug Details above the agent responses to get more details about what is happening behind the scenes of each message.
Click the New Session button as needed to reset and start a new interaction with the agent.
