CPaaS Portal File Storage
Audio recordings, Insights reports, and other files associated with your account can all be found in IntelePeer’s cloud storage. To access our storage, SFTP access must be set up and a unique URL, User Name, and Private Key are required.
Follow the steps below to configure access to IntelePeer cloud storage via the CPaaS Portal (atmosphere.intelepeer.com).
Note: The steps below are specific to the CPaaS Portal (for information about File Storage via the IntelePeer Customer Portal, check out this page) and use the FileZilla client. Download FileZilla here.
-
Log in to the CPaaS Portal.
-
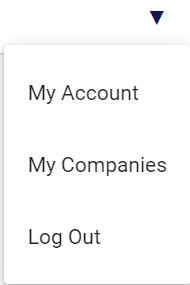
From the menu in the top right corner, click on your name and select My Account from the drop-down list.
-
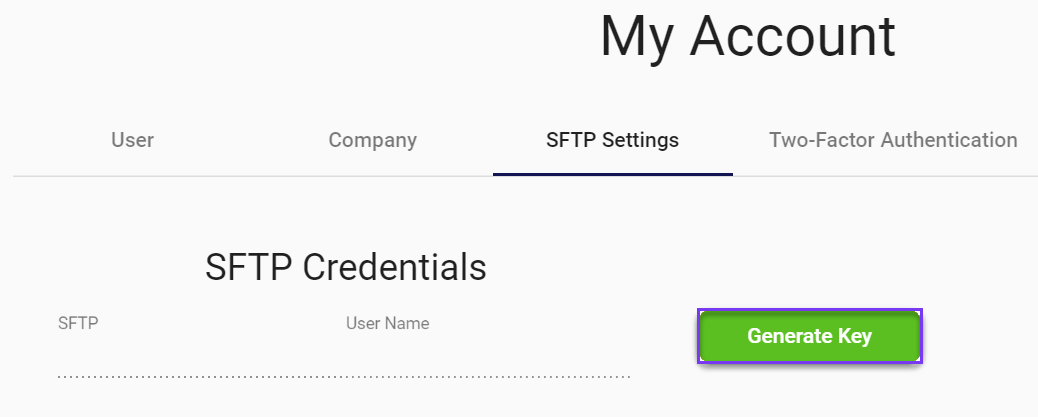
The My Account page appears, displaying User information. Select the SFTP Settings heading.
-
The SFTP Credentials appear.
-
Click Generate Key.
-
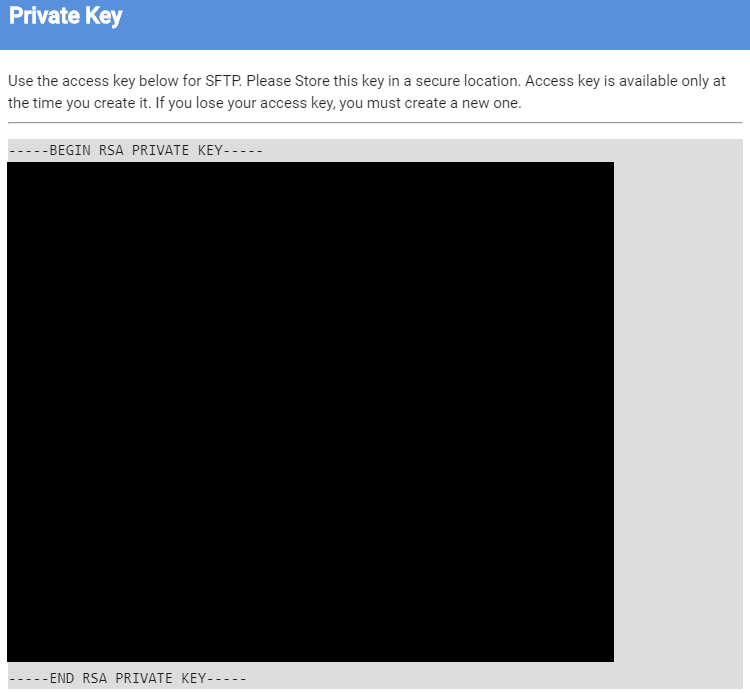
The Private Key pop-up appears.
-
Store your key in a secure location with a .ppk file extension. Your key is available only at the time you create it. So, if you lose your key, you must create a new one.
-
Click out of the pop-up window.
-
-
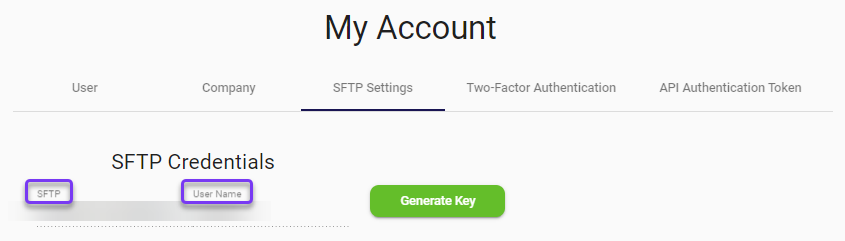
Back on the SFTP Credentials page, make note of the values in the SFTP field and the User Name field. You'll need this information later.
-
Open the FileZilla client.
-
Click File > Manage Site Protocol : SFTP.
-
In the Host field, include the URL you noted above (from the SFTP field).
-
In the Logon Type field, select Key File.
-
In the User field, include the name you noted above (from the User Name field).
-
In the Key File field, click Browse and select your private key .ppk file.
-
-
Click Connect.
You now have access to your account storage!