Call Recording
There are four SmartFlows actions available to enable users to start, pause, resume, and end call recording within a flow.
Start Recording
To begin a recording, drag the Start Call Recording action onto the board.
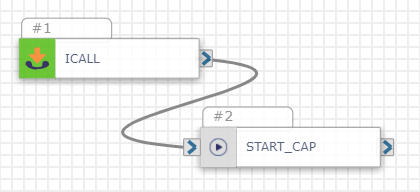
The flow starts to record the inbound audio. In the Start recording action Inputs, select the check box next to MIX (Inbound & Outbound Audio) to record both inbound and outbound audio.
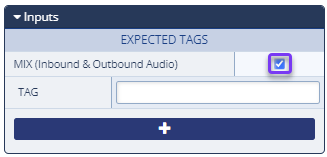
If checked, the file name appears as:
<Customer ID>.<flowID>.<Action name>.<SessionID>.<tag>.wav
- Your Customer ID is a unique identifier for your IntelePeer account.
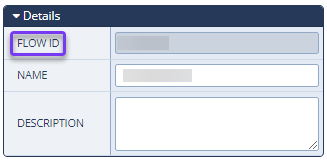
- The Flow ID is the name of the flow itself. It can be found in the Details section of the overall Flow Configurations panel to the right, after clicking on a blank space anywhere on the board.
- The Session ID is the unique identifier for this particular execution of the flow. The first ten digits of the session ID represent a Unix timestamp, which can be converted to a date using a tool like this to identify the date and time of the recording: https://www.unixtimestamp.com/
- Insights also retains this data, so you can use this to compare Insights data with the recording belonging to this session.
When Mix is unchecked, two files are created, one for each side of the audio: the calling party and the called party.
File names if unchecked:
- Caller side: <Customer ID>.<flowID>.<Action name>.<SessionID>.<tag>-in.wav
- Called side: <Customer ID>.<flowID>.<Action name>.<SessionID>.<tag>-out.wav
You can also add a Tag to audio file names to help identify them.
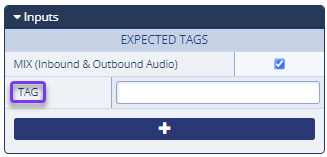
There are a variety of ways in which the file names appear based on your configurations:
- Without Tag: /path/<filename>.wav
- With Tag: /path/<filename>.<tag>.wav
- With Tag and Mix unchecked: /path/<filename>.<tag>-in.wav, /path/<filename>.<tag>-out.wav
Example File Names
Mix is unchecked and Tag apple is added:
- Caller side: <Customer ID>.<flowID>.<Action name>.<SessionID>.apple-in.wav
- Called side: <Customer ID>.<flowID>.<Action name>.<SessionID>.apple-out.wav
Mix is checked and Tag orange is added:
- <Customer ID>.<flowID>.<Action name>.<SessionID>.orange.wav
Pause or Stop Recording
If there is a point within your flow that call recording is not necessary--like during a call transfer or DTMF collections--you can pause the recording and resume when necessary. This is also useful when you are providing or collecting protected customer information such as medical or credit card information. Here is where you pull Pause and Resume onto your board.
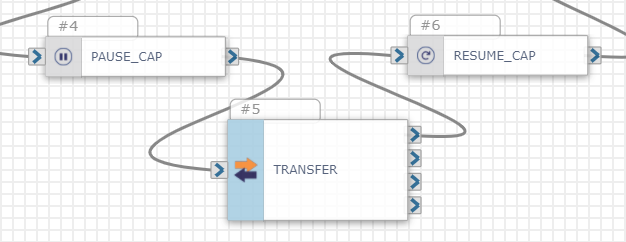
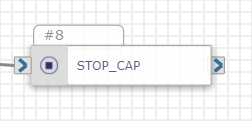
To end call recording completely within your flow, drag Stop to the board.
Call recordings can be accessed through IntelePeer’s cloud storage. Follow this tutorial to generate a private/public key pair and configure access to our storage.