AI Studio Agents Page
This guide describes the agent creation and management elements found on the AI Studio's Agents page. From this page, you can:
Navigate to the AI Studio
-
Log into the Customer Portal.
-
Open the AI Hub app.
-
From the menu on the far left, click Switch to AI Studio.

The Agents Page
When the AI Studio opens, you’re automatically brought to the Agents page.
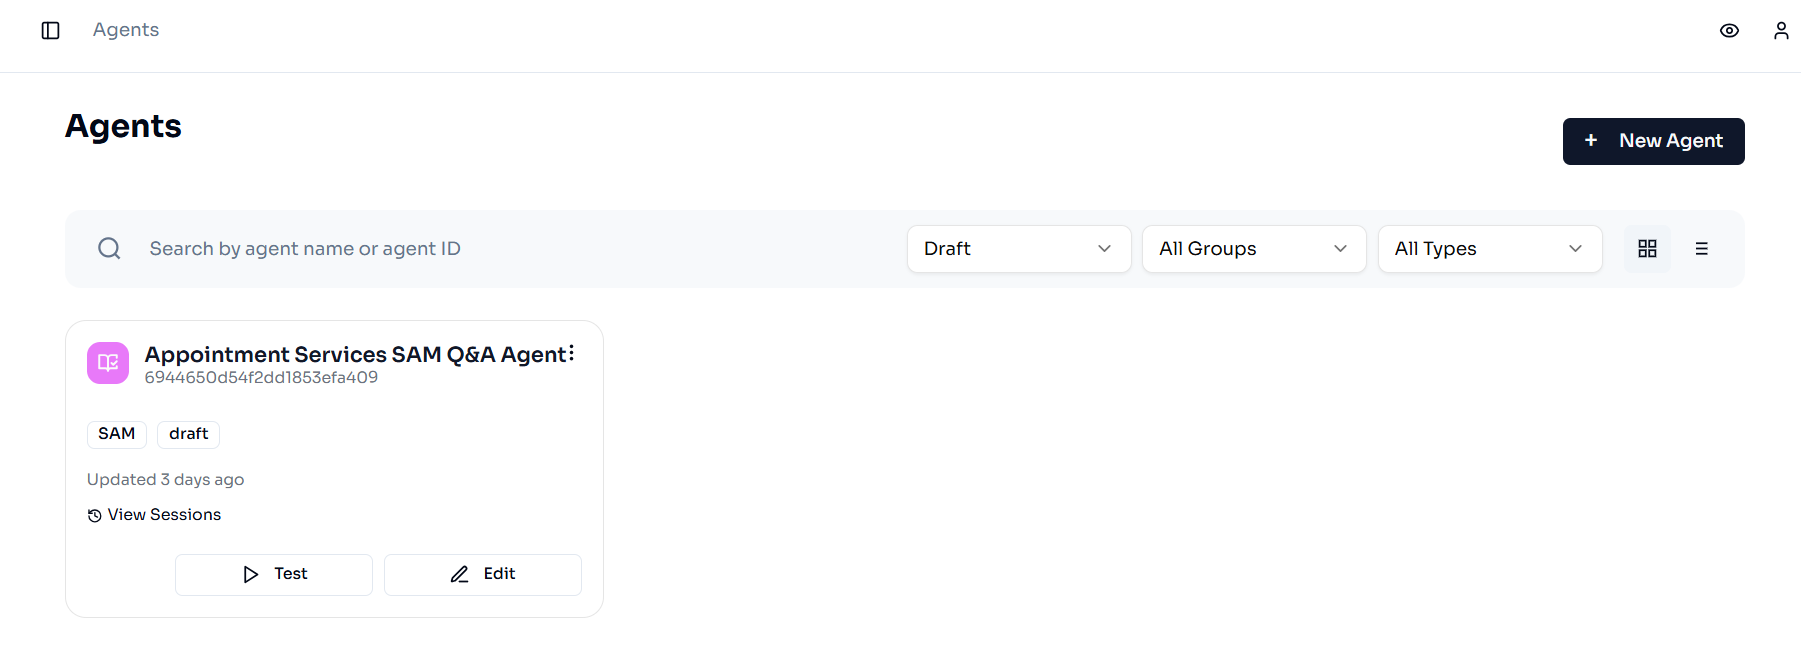
Here you can view and interact with previously created agents or build a new agent.
Find an Existing Agent
Scroll through the list of agents or use the search bar and filters to find a specific, previously created agent.

-
Search:
-
Type a partial or full word from the agent’s Name or use the agent ID in the search bar to narrow down the displayed agents.
-
-
Agent Status Filter:
-
Select an option from the drop-down list to filter the agents by a lifecycle status (e.g., Draft, Published, Archived, or All).
-
-
AI Hub Groups Filter:
-
Select an option from the drop-down list to filter the agents by a specific group they are associated with.
-
-
Agent Type Filter:
-
Select an option from the drop-down list to filter the agents by a specific agent model.
-
Create a New Agent
When you’re ready to create a new agent, click the + New Agent button, on the top right.
The Create New Agent page appears.
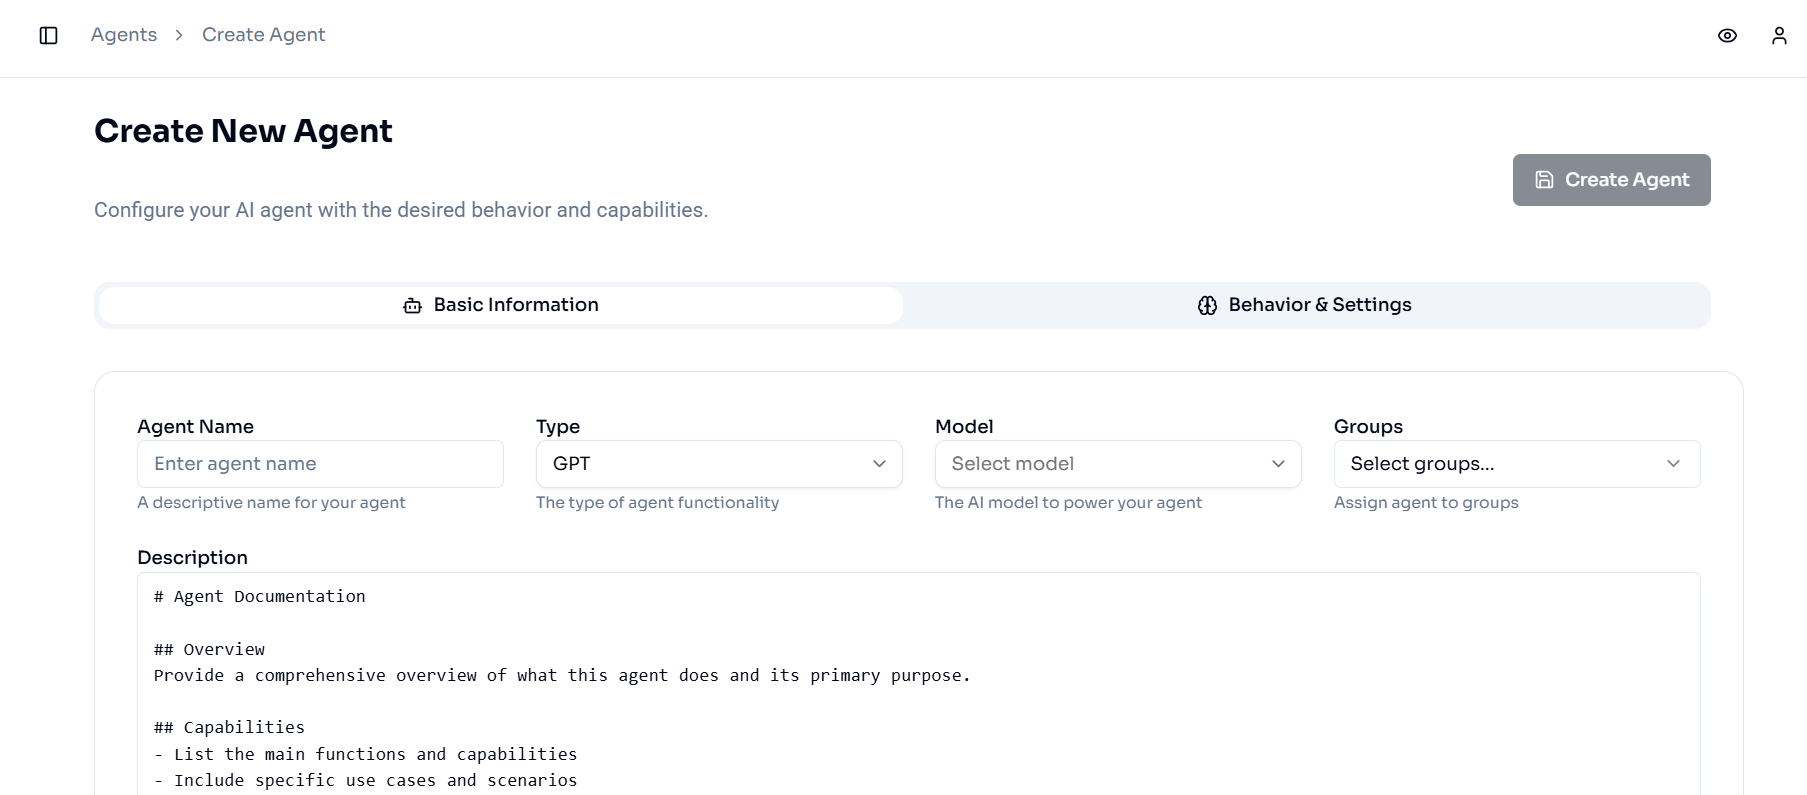
Here you can fill in all of the details about your agent, save your configurations, and publish the agent.
Edit an Agent
To edit a previously created agent, click the Edit button associated with that agent.
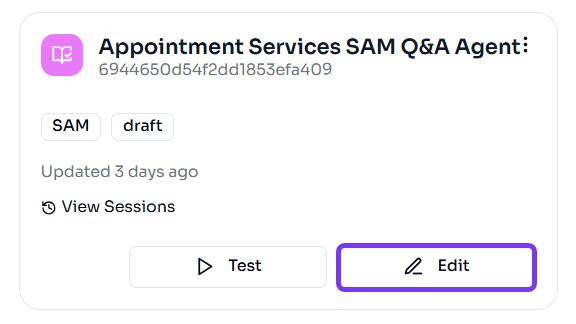
The agent details appear.
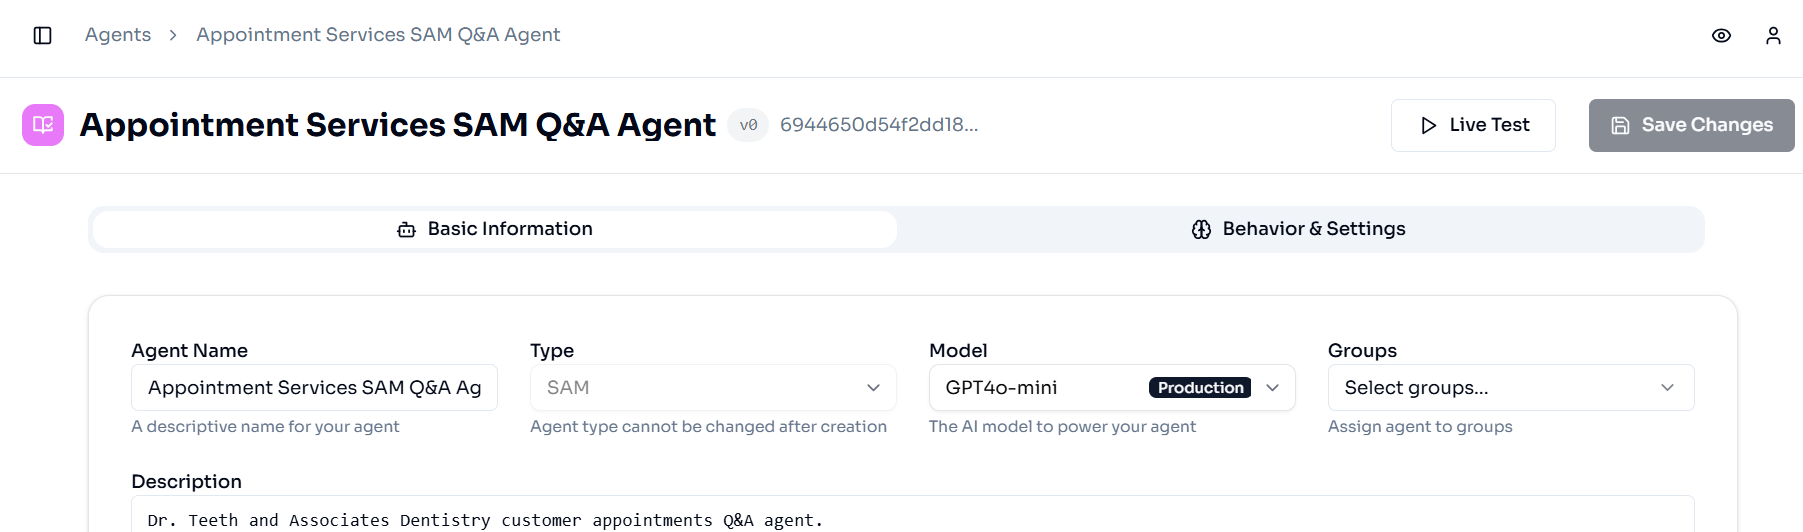
Make any necessary changes and remember to click Save Changes to confirm your updates.
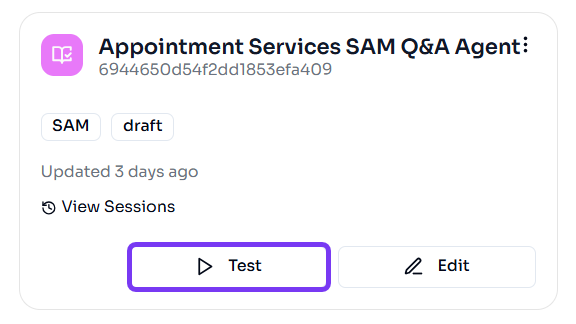
Test an Agent
You can do some preliminary testing through the Agents page, but we recommend following that with full-scale evaluation via the Tasks page.
To test your agent via the Agents page, click the Test button associated with that agent.
Note: You can also click the Edit button for the agent you want to test and then click the Live Test button at the top right side of the page to navigate to the same place.
On the left side of the page your agent details appear. On the right side of the page, you can add appropriate test variables and send sample messages to your agent.
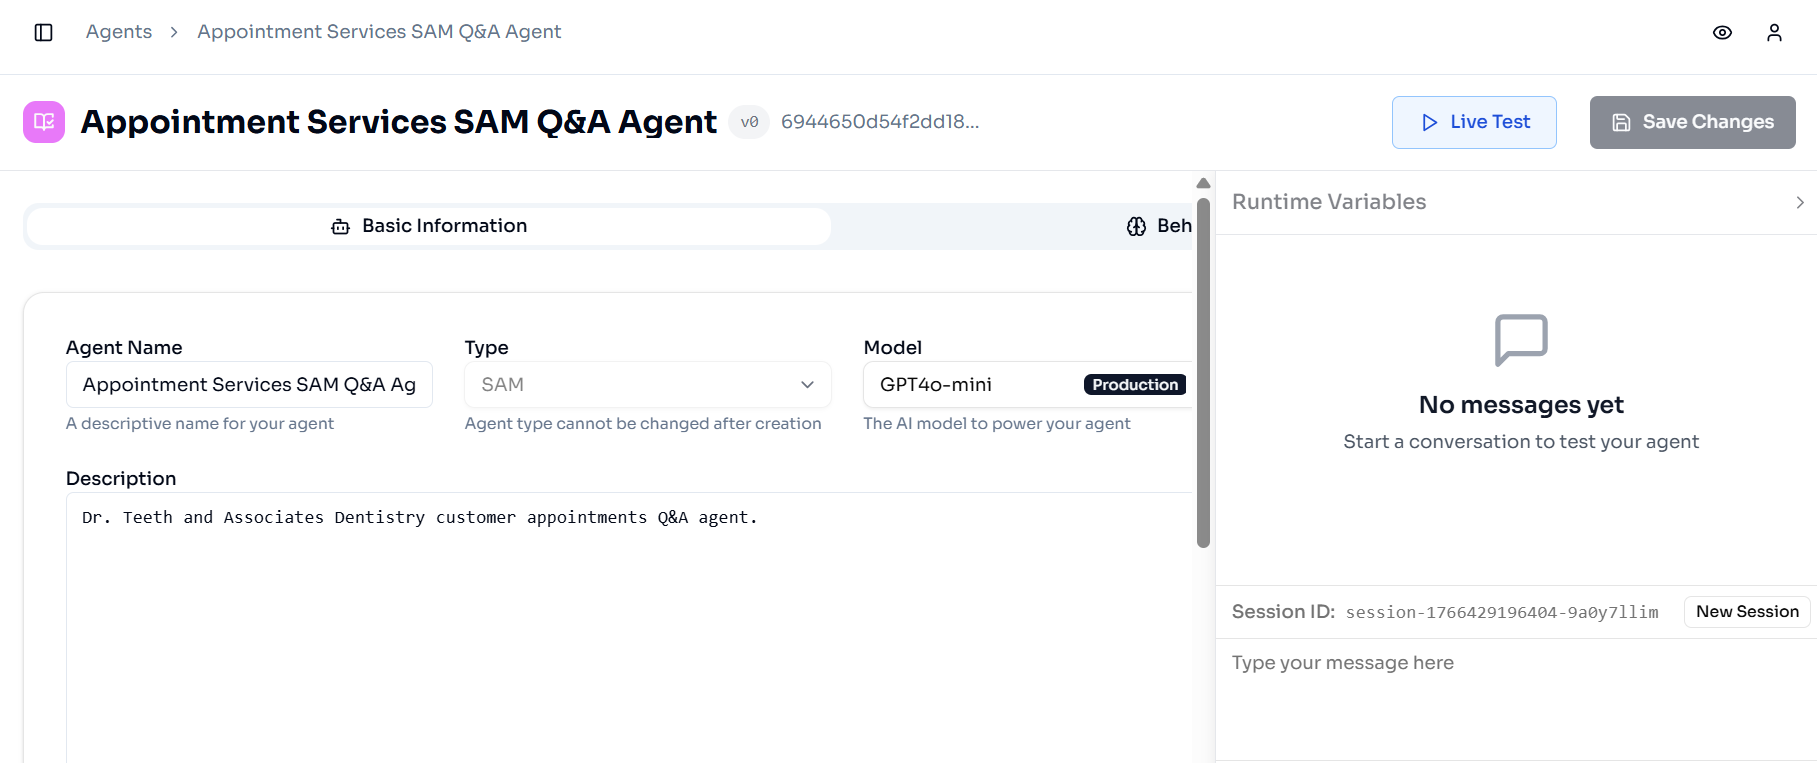
In the Runtime Variables section, you can add appropriate test data in the Flow Arguments tab or add a parameter in the Query Parameters tab.
Click the New Session button as needed to reset and start a new interaction with the agent.

Publish an Agent
If you have a draft agent ready to publish:
-
Find the agent you want to publish. If you have a lot of agents in your account, you can select “Draft” from the Status filter or search for the specific agent’s name to narrow down the displayed agents.
-
Click the options icon on the far right of the agent tile.

-
Click Publish from the menu.
-
A confirmation pop-up appears. Click Publish Agent to confirm your update or click Cancel to maintain the agent in draft status.

Archive an Agent
If you have a legacy agent ready to be decommissioned, it can be set to “Archived” Status.
Note: Only previously Published agents can be archived.
To archive an agent:
-
Find the agent you want to archive. If you have a lot of agents in your account, you can select “Published” from the Status filter or search for the specific agent’s name to narrow down the displayed agents.
-
Click the options icon on the far right of the agent tile.
-
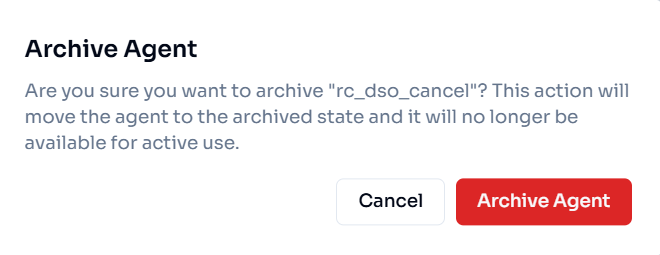
Click Archive from the menu.
-
A confirmation pop-up appears. Click Archive Agent to confirm your update or click Cancel to maintain the agent in published status.
Your agent has been archived, and you can always find it again later by selecting “Archived” from the Status filter.