How to Organize Your Flows
This guide describes how to group your flows into folders and use tags to efficiently find the flow you need. Learn more about:
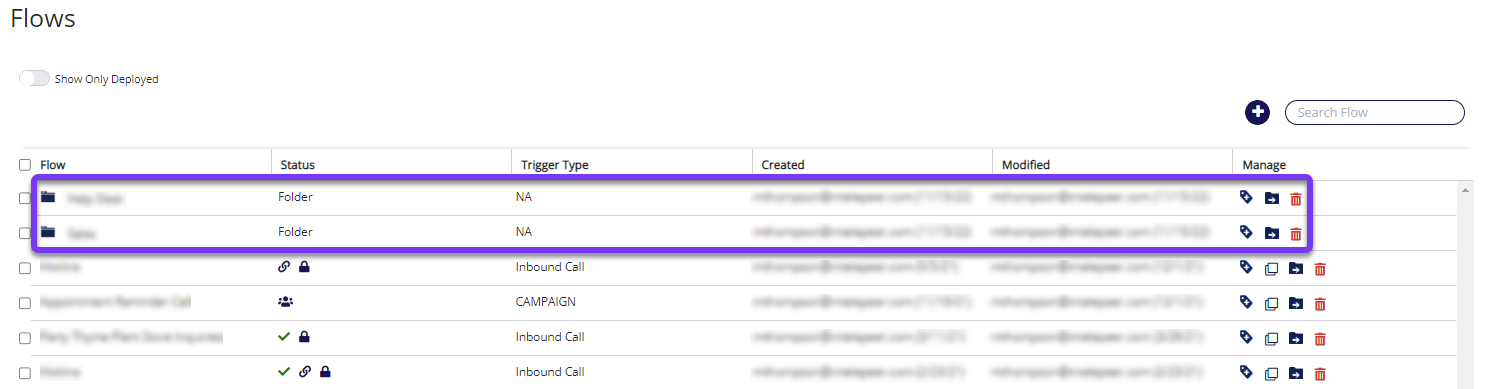
Folders
Using folder you can arrange multiple flows into a folder, and nest sub-folders into a parent folder.
Create a Folder
-
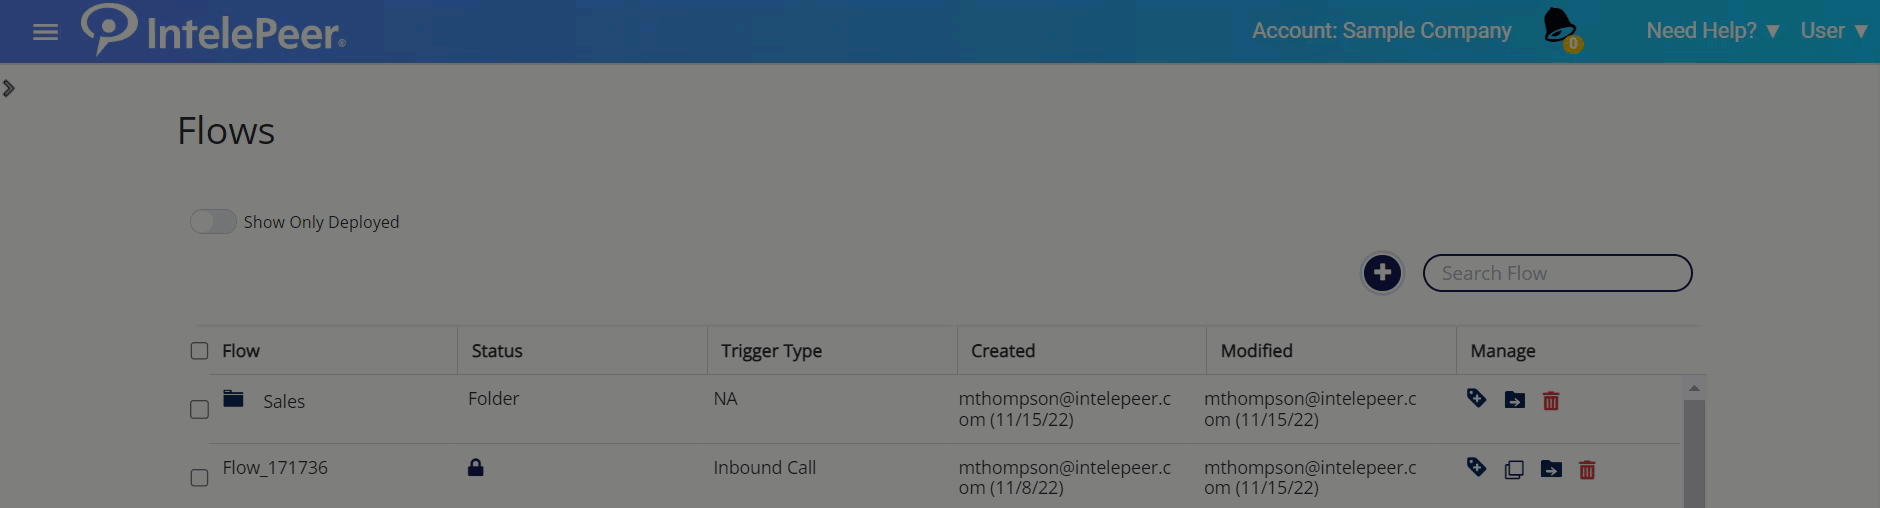
From the Flows page, click the blue plus sign button above the table.
-
Select New Folder from the drop-down list.
-
Give your folder a unique and descriptive name (not to exceed 17 characters). Click OK.
-
Your new folder appears at the top of the table.
Add Flows to a Folder
To add one flow to your folder:
-
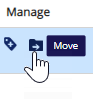
From the manage column, click the Move icon for the appropriate flow.

-
The Move to Folder pop-up appears, listing all of your previously created folders.
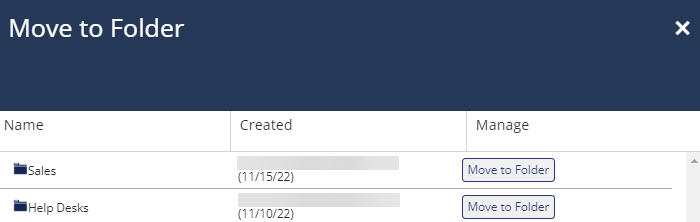
-
Select the Move to Folder button from the Manage column for the appropriate folder. Click OK on the confirmation pop-up.
-
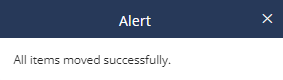
An Alert pop-up appears, confirming your flow has been moved successfully.
Exit the confirmation pop-up. Your flow no longer appears in the table. You can click on the appropriate folder to view the moved flow.
To add multiple flows to your folder:
-
Click the check box to the left of the flows you want to add to your folder.
-
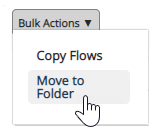
Once at least two flows are selected, the Bulk Actions drop-down appears above the table.
-
Select Move to Folder from the drop-down list.
-
The Move to Folder pop-up appears, listing all of your previously created folders.
-
Select the Move to Folder button from the Manage column for the appropriate folder. Click OK on the confirmation pop-up.
-
An Alert pop-up appears, confirming your flows have been moved successfully.
Exit the confirmation pop-up. Your flows no longer appear in the table. You can click on the appropriate folder to view the moved flows.
Nest Sub-Folders into a Parent Folder
To nest one folder into a parent folder:
-
From the Manage column, click the Move icon for the appropriate folder.
-
The Move to Folder pop-up appears listing all of your previously created folders.
-
Select the Move to Folder button from the Manage column for the appropriate parent folder. Click OK on the confirmation pop-up.
-
An Alert pop-up appears, confirming your folder has been moved successfully.
Exit the confirmation pop-up. Your folder no longer appears in the table. You can click on the appropriate parent folder to view the moved sub-folder.
To nest multiple folders into a parent folder:
-
Click on the check box to the left of the folders you want to add to a parent folder.
-
Once at least two folders are selected, the Bulk Actions drop-down appears above the table.
-
Select Move to Folder from the drop-down list.
-
The Move to Folder pop-up appears, listing all of your previously created folders.
-
Select the Move to Folder button from the Manage column for the appropriate parent folder. Click OK on the confirmation pop-up.
-
An Alert pop-up appears, confirming your folders have been moved successfully.
Exit the confirmation pop-up. Your folders no longer appear in the table. You can click on the appropriate parent folder to view the moved sub-folders.
Note: You can also select a mix of flows and folders to move at the same time using the Bulk Action > Move to Folder functionality.
Move Flows or Sub-Folders from a Folder Back to the Main Flows Table
To move one flow or sub-folder back to the main flows table:
-
Click on the appropriate folder to open it.
-
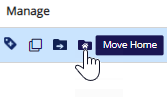
Select the Move Home icon from the Manage column for the appropriate flow or sub-folder you want to move.
-
Click OK on the confirmation pop-up.
-
An Alert pop-up appears, confirming your flow or sub-folder has been moved successfully.
Exit the confirmation pop-up. Your flow or sub-folder now appears in the main flows table.
To move multiple flows/sub-folders back to the main flows table:
-
Click on the appropriate folder to open it.
-
Click the check box to the left of the flows or sub-folders you want to move back to the main flows table.
-
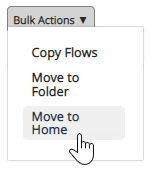
Once at least two flows or sub-folders are selected, the Bulk Actions drop-down appears above the folder table.
-
Select Move to Home from the drop-down list.
-
Click OK on the confirmation pop-up.
-
An Alert pop-up appears, confirming your flows/sub-fodlers have been moved successfully.
Exit the confirmation pop-up. Your flows or sub-folders now appear in the main flows table.
Note: You can also select a mix of flows and sub-folder to move back to the main flows table at the same time using the Bulk Action > Move to Home functionality.
Delete a Folder
Click the trashcan icon in the Manage column to delete a folder.

Note: If there are flows inside the folder you delete, the flows will move back to the main flows table.
Tags
Add custom tags to your flows and folders, making them easy to find and group by search.
Add a Tag to a Flow or Folder
-
Click the Open Tags icon in the Manage column for the appropriate flow or folder.

-
Any previously added tags will appear.

-
Click the + New Tag button.
-
Type a unique and descriptive tag in the text box (up to 32 characters). Click OK.
-
The new tag will appear associated with your flow or folder.

-
Click the + New Tag button again to add additional tags, or click the Close Tags icon to hide the tags.

Search By Tags
Use the search bar at the top of the flows page to find all flows and folders with the same tag.
Note: Searching by tags is case sensitive and will return partial matches (e.g., if you used the tag "Helpdesk", and search "Help" those Helpdesk tagged flows and folders will appear (but if you search "help" they will not appear)).